Make sure you haven't got the discount earlier.
Parts That Fix Jenn-Air Cooktop JED8430ADB Will Not Start
Will Not Start is a commonly reported symptom for the JED8430ADB Jenn-Air Cooktop, and we have put together a full guide on how to fix this. This advice is based on feedback from people who own this exact appliance. We have listed the most common parts for your JED8430ADB Jenn-Air Cooktop that will fix Will Not Start. We have included repair instructions, and helpful step-by-step video tutorials. If you are experiencing this issue, not to worry, DIYers just like you have fixed this, and shared their experience to help you!
Customer Repair Stories
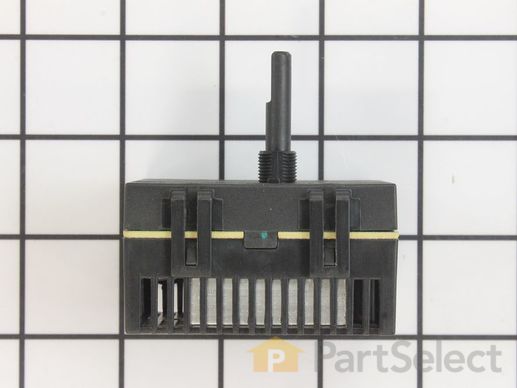
Fan switch only fits in one way and makes knob point to medium setting when off. The switch did not come with a mounting nut and the original in Jenn-Air didnt match.
-
Gregory from Prospect, CT
-
Difficulty Level:A Bit Difficult
-
Total Repair Time:More than 2 hours
-
Tools:Nutdriver, Screw drivers
Knob stem broke off at the base near the switch
One problem is the switch only fits in the space one way because of the first burner light. When installed the only way the knob f ... Read more its on the switch stem makes the dot on the knob backwards. It now shows to be on medium speed when it is off.
-
Samuel from San Antonio, TX
-
Difficulty Level:A Bit Difficult
-
Total Repair Time:30 - 60 mins
-
Tools:Screw drivers, Socket set
This is the replacement surface burner switch for your range. It measures approximately 1.5 inches by 1.5 inches, with a shaft that is approximately 1 inch long. The surface burner switch turns the surface element on and off and allows you to control how much heat the element produces. The main reason to change the infinite switch is if the switch has shorted out inside, and is not allowing power to the burner, or if the contacts inside are stuck together and the element is stuck on high. Ensure that the burner is off, and the range has been disconnected from the power source before you begin this repair. This part is sold individually and is an OEM part.
Customer Repair Stories
Original infinite switch on cooktop (Jenn-Air model JED8230AED)needed to be replaced
Original Replacement
----------- -----------------
L1 ... Read more L1
L2 L2
P P
H1 HC
H2 H1
If you get H1 & HC reversed, controls will work correctly for each of the two cooktop elements individually, but when used together, both will turn on/off simultaneously whenever either switch closes.
-
Mark from MOUND, MN
-
Difficulty Level:A Bit Difficult
-
Total Repair Time:30 - 60 mins
-
Tools:Pliers, Screw drivers, Socket set, Wrench (Adjustable)
old switch had shorted and burned out
-
Larry from Hampton Cove, AL
-
Difficulty Level:Really Easy
-
Total Repair Time:15 - 30 mins
-
Tools:Nutdriver
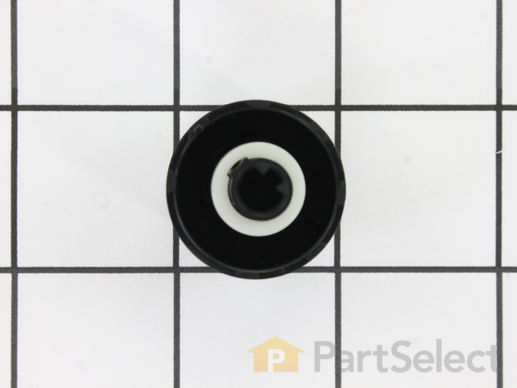
This knob accepts a D-shaped shaft.
Customer Repair Stories
broken fan knob assy
-
Elmo from Landrum, SC
-
Difficulty Level:Easy
-
Total Repair Time:Less than 15 mins
-
Tools:Pliers
The Fan Knob that was original factory stopped popping up
-
Kalman from Castle Rock, CO
-
Difficulty Level:Really Easy
-
Total Repair Time:Less than 15 mins
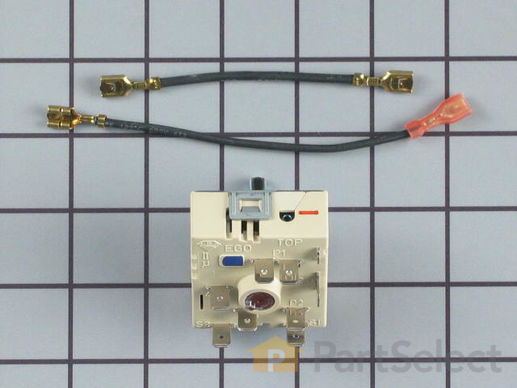
This switch is used to operate the dual surface burner.
Customer Repair Stories
The repair itself was very easy. “How to connect” was very hard to get.
To get access to the switch, unscrew 2 screws from each side of front panel and then 4 screws from the bottom of it (open the door first). Have a box or a small table about 30” high to use it as support for the front panel.
The end result ... Read more (colors for the Right Front- R.F.- burner) : Old label -> New label
1. Double RED: N -> P2 (incoming power, Line 1)
2. Single RED: N -> 2 (to Inner AND Outer heating elements common wire)
3. Single BLK: L1 -> P1 (incoming power, Line 2)
4. Single TAN: H1 -> 4 (to the Inner heating element)
5. Single YEL: H2-> 4a (to the Inner heating element)
6. Single BLK: P -> S2 (to the R.F. indicator control light)
7. Attach jumper black wire (included with new switch) from P1 (P1 has two connectors close together) to S1.
Done.
-
Igor from Campbell, CA
-
Difficulty Level:Really Easy
-
Total Repair Time:15 - 30 mins
-
Tools:Nutdriver, Pliers, Screw drivers
Outer element of dual element burner didn't work
The instructions with the new switch were very poorly written, so here is how I got the new switch to work:
Attach the black wire(s) from the old switch (termi ... Read more nal 2) to the new switch terminal P1. Also attach the jumper cable to P1 and "jump" it to S1.
Attach the orange wire (old switch terminal 5) to S2
Attach the yellow wire (old switch terminal 4) to 4a
Attach the tan/(white?) wire (old switch terminal 3) to terminal 4 on the new switch
Attach the single red wire from the right front element to terminal 2 on the new switch.
Attach the 'compound' red wires (the ones that come from the left rear/outlet connection and is also attached to the right rear switch) to terminal P2 on the new switch.
There is no need to seperate the compound red wires as the instructions might lead you to believe.
Good Luck
-
Michael from Collierville, TN
-
Difficulty Level:A Bit Difficult
-
Total Repair Time:30 - 60 mins
-
Tools:Nutdriver, Pliers, Socket set


