Models > MVWC416FW0 > Symptoms > Will not agitate

Parts That Fix Maytag Washer MVWC416FW0 Will not agitate

Will not agitate is a commonly reported symptom for the MVWC416FW0 Maytag Washer, and we have put together a full guide on how to fix this. This advice is based on feedback from people who own this exact appliance. We have listed the most common parts for your MVWC416FW0 Maytag Washer that will fix Will not agitate. We have included repair instructions, and helpful step-by-step video tutorials. If you are experiencing this issue, not to worry, DIYers just like you have fixed this, and shared their experience to help you!

Fixes Symptom 28% of time
★★★★★
★★★★★
25 Reviews

Rated by 15 customers 


Easy 

30 - 60 mins 

Ratings submitted by customers like you who bought this part.   

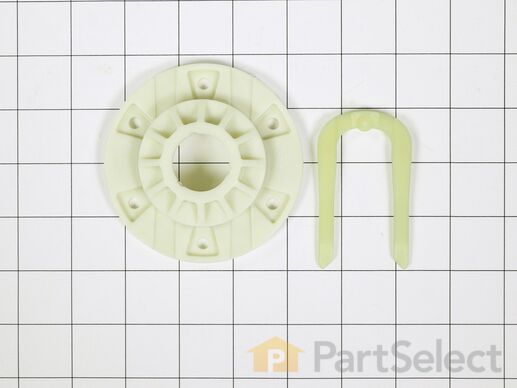
This drive hub kit (part number W10528947VP) is for washers. Drive hub kit W10528947VP connects the spin basket to the spin shaft that spins the basket. The kit may include multiple parts; refer to your parts diagram for a complete list of parts included. Unplug the washer before installing this part. Wear work gloves to protect your hands.

$ 34.00
  In Stock
PartSelect Number PS6012095
Manufacturer Part Number W10528947

Replacing your Whirlpool Washer Drive Hub Kit

Replacing your Drive Hub Kit

Customer Repair Stories

Waher would not spin and made noise

Removed center cap, loosened center nut, pry lightly up on center plate and tap center nut. Center plate comes loose, remove nut, remove center plate. Pry lock clip out and remove, remove screw with electric impact (screw drive will work, but slower), remove drive hub. Install new drive hub (be sure to check screw hole alignment), install and tighten screws (be sure to follow a skip pattern and bring it down even), install lock clip, install center plate, install and tighten nut, replace center cap. Done!
  • Andrew from SYLVANIA, OH
  • Difficulty Level:
    Very Easy
  • Total Repair Time:
    Less than 15 mins
  • Tools:
    Screw drivers, Wrench (Adjustable)
9 of 10 people found this instruction helpful.
Was this instruction helpful to you?
Thank you for voting!

Hub had warn its grooved teeth off and washer wouldnt agitate

ordered hub and it shipped quickly. I was able to put the hub in place and screw the screws in. you want to tighten them down slowly and go around to each screw tightening a little at a time so you don't break the hub. as you tighten the screws down the hub slides down flush. its impossible to just push the hub on with your hand. Buttoned it back up and got caught up on laundry. good day when the washer is fixed.
  • Allison from RICHFORD, NY
  • Difficulty Level:
    Easy
  • Total Repair Time:
    15 - 30 mins
  • Tools:
    Screw drivers
44 of 57 people found this instruction helpful.
Was this instruction helpful to you?
Thank you for voting!
2 Washer
Fixes Symptom 20% of time
★★★★★
★★★★★
1 Review

Rated by 17 customers 


Easy 

15 - 30 mins 

Ratings submitted by customers like you who bought this part.   

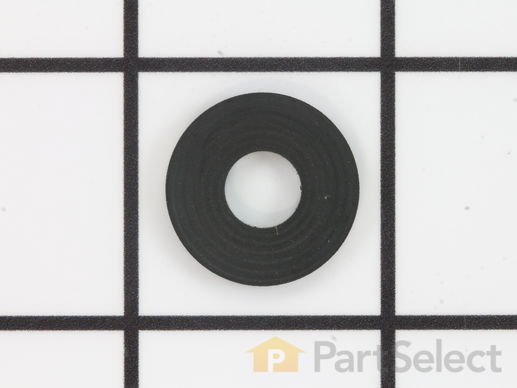
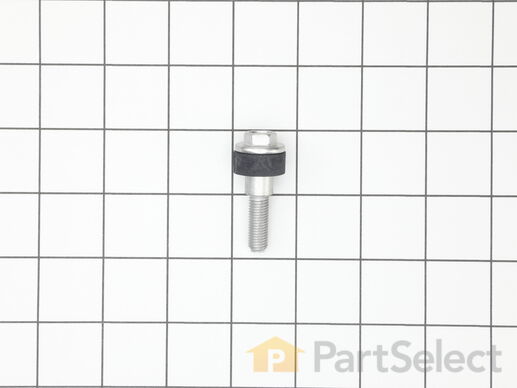
This part goes on the agitator retaining bolt.

$ 7.70
  In Stock
PartSelect Number PS11742027
Manufacturer Part Number WP3949550

Replacing your Whirlpool Washer Washer

Replacing your Washer

Customer Repair Stories

agitator broke

very easy to repair , instructions very clear , parts person very good to talk to, parts got here fast
  • Joseph from Kalkaska, MI
  • Difficulty Level:
    Really Easy
  • Total Repair Time:
    Less than 15 mins
  • Tools:
    Socket set
0 of 1 people found this instruction helpful.
Was this instruction helpful to you?
Thank you for voting!
Fixes Symptom 15% of time
★★★★★
★★★★★
21 Reviews

Rated by 15 customers 


Really Easy 

30 - 60 mins 

Ratings submitted by customers like you who bought this part.   

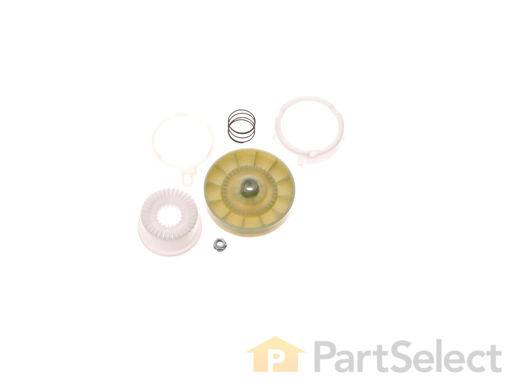
This is a replacement clutch assembly or cam kit for your washer. The clutch assembly is mounted on the drive shaft on the bottom of your washer. You may need to replace the clutch assembly if the splines on the clutch assembly are stripped and the washer is making noise, or if you are having problems with the wash and spin cycles. You will need to access the bottom of the washer for this repair. It is easiest to if you disconnect your washer from both the water and power source, and lay it on its back. The clutch assembly contains 6 parts, and all are included with the kit. It is also important to change out the entire assembly, rather than individual pieces.

$ 54.48
  In Stock
PartSelect Number PS10057144
Manufacturer Part Number W10721967

Replacing your Whirlpool Washer Washer Drive Pulley

Replacing your Washer Drive Pulley

Customer Repair Stories

Making loud noises.

The video you sent me was very helpful told me the exact tools I needed and how to do it.
Thank you
  • Roy from BROOKLYN, NY
  • Difficulty Level:
    Really Easy
  • Total Repair Time:
    30 - 60 mins
  • Tools:
    Nutdriver, Pliers, Screw drivers, Socket set
8 of 10 people found this instruction helpful.
Was this instruction helpful to you?
Thank you for voting!

Noise, grinding sounds. Wash tub stopped turning but motor and cycles kept functioning. Process of elimination, must be the clutch assembly.

Easy, just followed the repair video. Recommend also ordering the drive belt. Bought one locally during my repair.
  • David from BLOOMINGTON, IN
  • Difficulty Level:
    Easy
  • Total Repair Time:
    30 - 60 mins
  • Tools:
    Screw drivers, Socket set
37 of 47 people found this instruction helpful.
Was this instruction helpful to you?
Thank you for voting!
Fixes Symptom 14% of time
★★★★★
★★★★★
14 Reviews

Rated by 1 customer 


Very Easy 

Less than 15 mins 

Ratings submitted by customers like you who bought this part.   

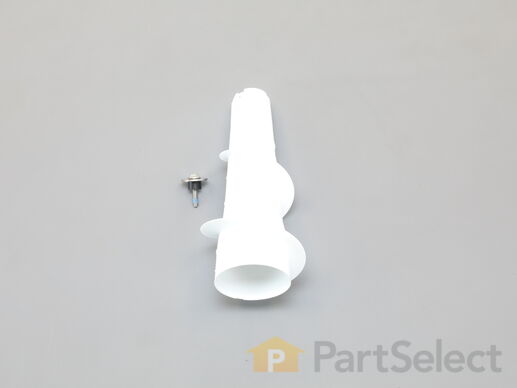
This agitator is for washers. Agitator rotates back and forth to move the clothes inside the tub to clean the load. Unplug the washer before installing this part. Wear work gloves to protect your hands.

$ 97.35
  In Stock
PartSelect Number PS11727882
Manufacturer Part Number W10836692
Fixes Symptom 10% of time
★★★★★
★★★★★
11 Reviews

Rated by 7 customers 


Easy 

1- 2 hours 

Ratings submitted by customers like you who bought this part.   

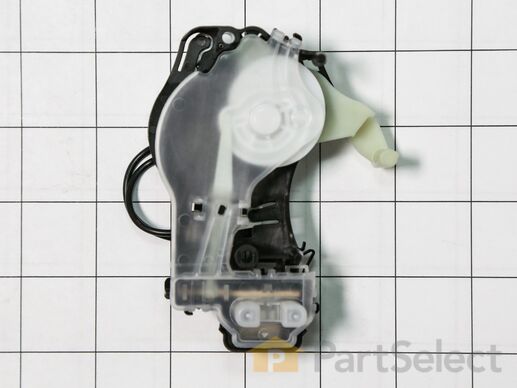
This 6-pin shift actuator is an authentic OEM part supplied directly by the manufacturer for use in washing machines. The shift actuator is responsible for controlling the movement of the washer transmission during the different phases of the wash cycle. This allows the washer to switch between agitating and spinning modes. Signs of a faulty shift actuator include the washer failing to agitate or spin, incomplete cycles where the washer gets stuck in one phase, or unusual noises during operation

$ 66.39
  In Stock
PartSelect Number PS11769864
Manufacturer Part Number W10913953

Replacing your Whirlpool Washer Shift Actuator - 6 Pin

Replacing your Shift Actuator - 6 Pin
Fixes Symptom 8% of time
★★★★★
★★★★★
20 Reviews

Rated by 13 customers 


Easy 

30 - 60 mins 

Ratings submitted by customers like you who bought this part.   

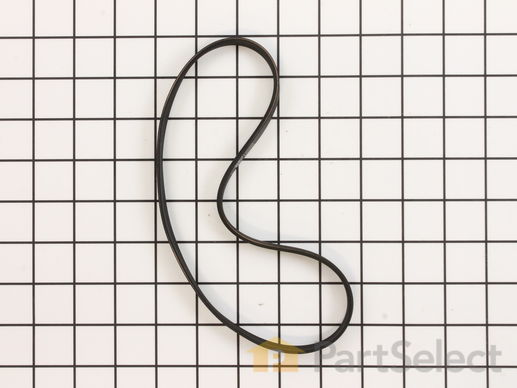
The main drive belt is designed to ride on the pulley until the basket gets up to speed.

$ 19.75
  In Stock
PartSelect Number PS11747978
Manufacturer Part Number WPW10006384

Replacing your Whirlpool Washer Drive Belt

Replacing your Drive Belt

Customer Repair Stories

washer wasn't spinning after rinsing but the motor was running

I had taken the time to watch videos of this repair so when the switch arrived I knew what I had to do. Removing the screws to get the back cover off was simple as was installing the switch. No tricks here just watch the videos and your all set to do the job
  • Terry from HANCOCK, MD
  • Difficulty Level:
    Easy
  • Total Repair Time:
    30 - 60 mins
  • Tools:
    Nutdriver, Pliers, Screw drivers
8 of 10 people found this instruction helpful.
Was this instruction helpful to you?
Thank you for voting!

Smelled a burning odor occasionally

First, I checked the belt before ordering and then decided to order the belt, capacitor, and clutch assembly (if I needed to replace). I replaced the belt noticing the older belt came right off and new one was tighter going on. I replaced the capacitor since I had it handy and it can be known to cause this smell also. After setting washer back up and started a cycle I noticed the spin cycle would not start properly so I thought maybe the capacitor (new one) was faulty or just not the exact match even though it was said to be. I replaced my older capacitor back on and again ran cycle and it ran great. Thus I decided to send the parts which were not used. I would recommend this site as I have used them in the past before on other items. They ship fast and have a great return policy if parts not used.
  • Paul from E NORTHPORT, NY
  • Difficulty Level:
    Very Easy
  • Total Repair Time:
    15 - 30 mins
  • Tools:
    Nutdriver, Socket set, Wrench (Adjustable)
16 of 22 people found this instruction helpful.
Was this instruction helpful to you?
Thank you for voting!
Fixes Symptom 2% of time

Rated by 1 customer 


Very Easy 

15 - 30 mins 

Ratings submitted by customers like you who bought this part.   

$ 7.17
  In Stock
PartSelect Number PS12728657
Manufacturer Part Number W11385424

Customer Repair Stories

No agitation

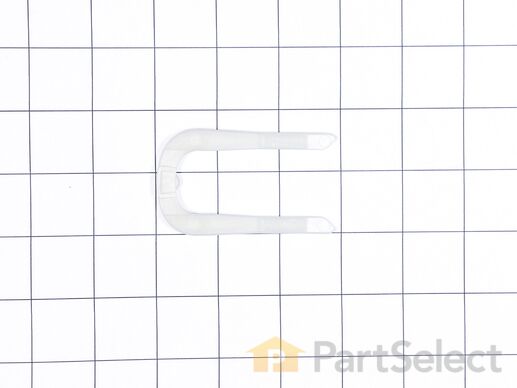
Pop center cover off wash plate. Remove bolt. Lift off washplate. Slide retainer off with screwdriver and hammer. Slide new retainer on. Replace washplate.
  • Jim from ACUSHNET, MA
  • Difficulty Level:
    Very Easy
  • Total Repair Time:
    15 - 30 mins
1 person found this instruction helpful.
Was this instruction helpful to you?
Thank you for voting!
Fixes Symptom 2% of time

  No Longer Available
PartSelect Number PS11748116
Manufacturer Part Number WPW10076270
Fixes Symptom 2% of time
★★★★★
★★★★★
22 Reviews

Rated by 6 customers 


Really Easy 

30 - 60 mins 

Ratings submitted by customers like you who bought this part.   

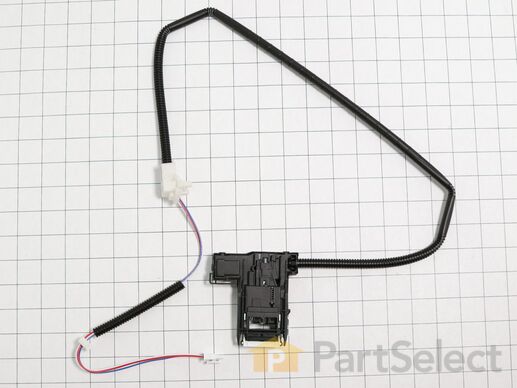
This is lid lock designed for use within various washing machines. This lid lock, also known as a latch assembly, is used to secure the lid of your washing machine during the washing cycle. If your washing machine is experiencing issues starting or if the lid is not securing, this lid lock assembly likely needs to be replaced. This lid lock attaches underneath the top portion of your washer and its wire harness connects to the rear of the appliance. To replace this assembly, you will need a screwdriver, flathead screwdriver or putty knife, and wrench. This lid lock is an OEM part that is sold individually and does not come with any other parts or accessories.

$ 139.49
  In Stock
PartSelect Number PS12704713
Manufacturer Part Number W11307244

Replacing your Whirlpool Washer Washing Machine Door Lock Assembly

Replacing your Washing Machine Door Lock Assembly

Customer Repair Stories

FAULTY LATCH-WASHER WOULD NOT GO INTO SPIN MODE

THE NEW LATCH COMES WITH A NEW BEZEL ATTACHED, WHICH MOUNTS TO THE TOP OF THE WASHER, JUST UNDERNEATH THE LID. BECAUSE THE ORIGINAL BEZEL WAS IN PERFECT CONDITION AND DIFFICULT TO REMOVE, I DECIDED TO REMOVE THE BEZEL ON THE NEW LATCH, AND USE THE ORIGINAL ONE. THIS WOULD HAVE TO BE DONE REGARDLESS IN ORDER TO INSTALL THE NEW LATCH. REMOVING THE BEZEL WAS DIFFICULT DUE TO ALL THE LOCKING TABS THAT KEEP IT IN PLACE. I HAD TO RESTRAIN THE SLIDING SWITCH PARTS WHILE I REMOVED TO BEZEL TO AVOID THE ASSEMBLY FROM COMING APART. ONCE I SNAPPED THE NEW LATCH TO THE EXISTING BEZEL, THE ASSEMBLY WORKED FINE. TAKE TIME TO STUDY HOW THE LATCH ASSEMBLY IS ATTACHED TO THE BEZEL SO THAT YOU DON'T BREAK SOMETHING. USE A VERY SMALL SCREWDRIVER TO PRY BACK THE PLASTIC TABS IN ORDER TO RELEASE THE BEZEL FROM THE LATCH ASSEMBLY.
  • EVAN from STOCKTON SPGS, ME
  • Difficulty Level:
    A Bit Difficult
  • Total Repair Time:
    30 - 60 mins
  • Tools:
    Screw drivers
10 of 11 people found this instruction helpful.
Was this instruction helpful to you?
Thank you for voting!

latch switch was not working

unfasten top from back, slide top forward and lift up, remove switch and cable (one piece), in stall new switch and cable, put top down and slide back, reinstall screws.
  • John from BEAVER DAMS, NY
  • Difficulty Level:
    Really Easy
  • Total Repair Time:
    30 - 60 mins
  • Tools:
    Nutdriver, Screw drivers
26 of 37 people found this instruction helpful.
Was this instruction helpful to you?
Thank you for voting!