Models > WBVH5300K0WW > Symptoms > Leaking

Parts That Fix General Electric Washer WBVH5300K0WW Leaking

Leaking is a commonly reported symptom for the WBVH5300K0WW General Electric Washer, and we have put together a full guide on how to fix this. This advice is based on feedback from people who own this exact appliance. We have listed the most common parts for your WBVH5300K0WW General Electric Washer that will fix Leaking. We have included repair instructions, and helpful step-by-step video tutorials. If you are experiencing this issue, not to worry, DIYers just like you have fixed this, and shared their experience to help you!

Fixes Symptom 57% of time
★★★★★
★★★★★
8 Reviews

Rated by 13 customers 


A Bit Difficult 

1- 2 hours 

Ratings submitted by customers like you who bought this part.   

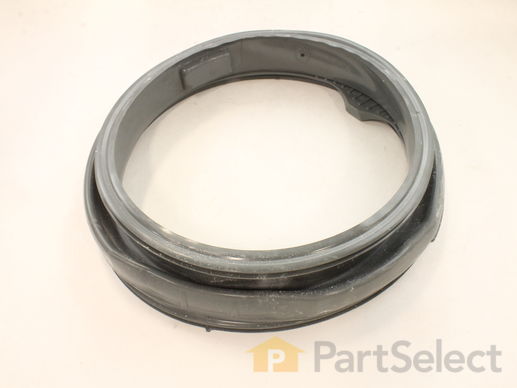
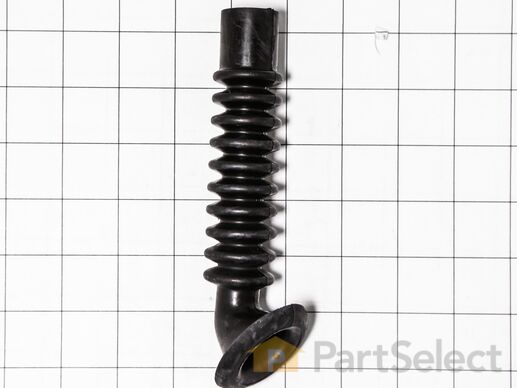
Also known as Bellow. The part may differ in appearance but functions same as original.

$ 241.16
  In Stock
PartSelect Number PS1766023
Manufacturer Part Number WH08X10036

Replacing your General Electric Washer Door Boot Seal

Replacing your Door Boot Seal

Customer Repair Stories

The rubber gasket on my front loader had a rip in it and soap and water would leak out at the bottom making a nice puddle to walk in on.

I read and reread all of the installation repairs everyone had sent in. Everyone said on the average it would take 1-2 hours. I partly started the install myself and the ran into a problem. My wife was my helping second hands( second hands is a great help) and she suggested to either google or YouTube the repair. Within minutes I had found one on you tube and it help me tremendously. it had the exact model washer on the video and the install was a breeze. I would recommend looking up the repair cause they show step by step video and makes it a lot easier.
  • Gerard from Pompano Beach, FL
  • Difficulty Level:
    Easy
  • Total Repair Time:
    1- 2 hours
  • Tools:
    Screw drivers
101 of 118 people found this instruction helpful.
Was this instruction helpful to you?
Thank you for voting!

Water leaking from the door.

I had to replace the door gasket because there was a small piece that had torn away, which caused large amounts of water to leak when the load of laundry was too big. Smaller loads of laundry would just produce a little bit of water.
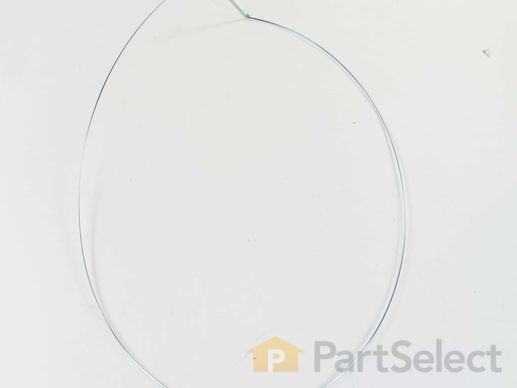
Unsure of how to replace the gasket, I used a phillips screwdriver to pull the door and front panel off. I thought that this would be pretty simple, but I soon discovered that it wasn't as simple as removing several screws and pulling the pieces off. The door was easy, the bottom panel was easy, but the front panel was held in place by screws, plastic tabs, the front of the gasket (I'll explain later), and gravity by means of plastic supports. Trying to find and release the tabs, lifting the panel up and out was not self-explanatory. I finally figured it out, and it made changing the gasket out, a breeze. The gasket is held in by two diferent wire spring clamps/bands. One band holds the gasket to the outside of the tub, and the other band holds the gasket to the front panel. Before removing the front panel you must remove the first band which is cleverly hidden by the face of the rubber gasket. Just peel it back...it's in there. I was able to pull/pry this off with a screwdriver because I was not worried about damaging the old gasket. The second band had to be removed with either a 6mm/7mm wrench(I can't remember which) or a stubby phillips screwdriver. The stubby screwdriver is handy because of the proximity of the tubs counterweights. Once the final band is removed just peel the gasket away from the tub, after taking note of how it came off. Put the fully loosened band on the new gasket and fit the new gasket into place. It helped to have two sets of hands to work it around the tub, but probably not necessary. The wrench is necessary to properly tighten the band, because you cannot get enough torque on the stubby screwdriver.Once the gasket is in place you can re-install the front panel, and secure the front of the gasket to the panel. Install the band and it will secure itself by the tension of the spring. Put the door back on and you are ready to wash clothes.
  • Brandon from Chugiak, AK
  • Difficulty Level:
    A Bit Difficult
  • Total Repair Time:
    More than 2 hours
  • Tools:
    Screw drivers, Wrench set
219 of 256 people found this instruction helpful.
Was this instruction helpful to you?
Thank you for voting!
Fixes Symptom 18% of time
★★★★★
★★★★★
3 Reviews

Rated by 1 customer 


Easy 

1- 2 hours 

Ratings submitted by customers like you who bought this part.   

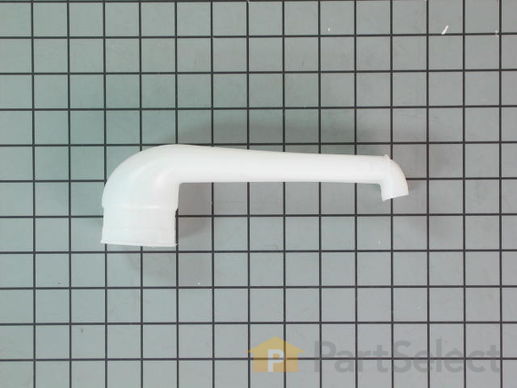
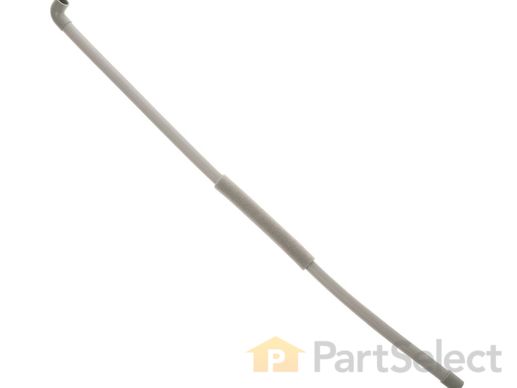
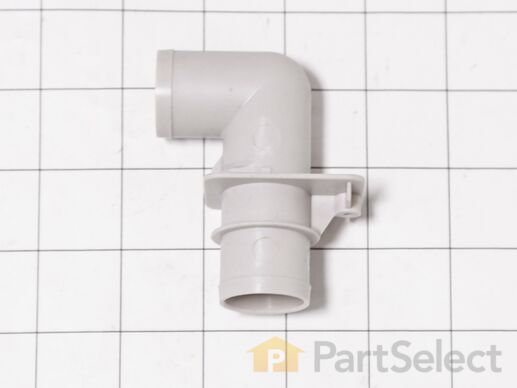
This is the replacement water inlet pipe or water inlet valve for your washer. It is made of white plastic and is approximately 8.5 inches by 3 inches, with an opening diameter of approximately 2.5 inches. The water inlet pipe controls the water flow to your washer during operation. If your washer is not getting enough water, or if it is leaking, you may have a cracked or damaged water inlet pipe. This part is sold individually and is a genuine OEM part.

  No Longer Available
PartSelect Number PS1015797
Manufacturer Part Number WH41X10118

Replacing your General Electric Washer Water Inlet Pipe

Replacing your Water Inlet Pipe

Customer Repair Stories

Water leak at front of washer

Removed top and front control panel. Shut off water, disconnect water lines at front and dispenser. Remove dispenser. Remove water inlet pipe by pulling out of boot. Install new pipe.Reverse proceedure. Note, these pipes may tend to split on the bottom.
  • Charles from Madison, FL
  • Difficulty Level:
    A Bit Difficult
  • Total Repair Time:
    30 - 60 mins
  • Tools:
    Nutdriver, Pliers, Screw drivers
Was this instruction helpful to you?
Thank you for voting!

Water leaking on floor

The repair video was almost perfect. I would not have even attempted the repair without the video as I am not a handyman at all. The diagnostic feature based on the symptoms was invaluable. I originally took the front of the washer off because I thought the rubber seal around the door was leaking.It was like 67% of the problem. But after checking the front seal carefully, I determined it wasn't. The next most likely issue as only rated 19% but when the water inlet pipe, I was actually tickled to see a crack in the plastic pipe. I ordered on line on Monday and with the cheapest shipping, I received my part in the mail on Thursday. I would highly recommend using Part Select for diagnostic, parts and repair. I will definitely use again. If I could make one recommendation to Part Select, it would be to do a close up during the video when the technician is working with a part, i.e., the wiring that goes around the rubber seal.
  • Doug from Roca, NE
  • Difficulty Level:
    Easy
  • Total Repair Time:
    1- 2 hours
  • Tools:
    Nutdriver, Pliers, Screw drivers
2 of 2 people found this instruction helpful.
Was this instruction helpful to you?
Thank you for voting!
Fixes Symptom 8% of time

  No Longer Available
PartSelect Number PS1021589
Manufacturer Part Number WH41X10119

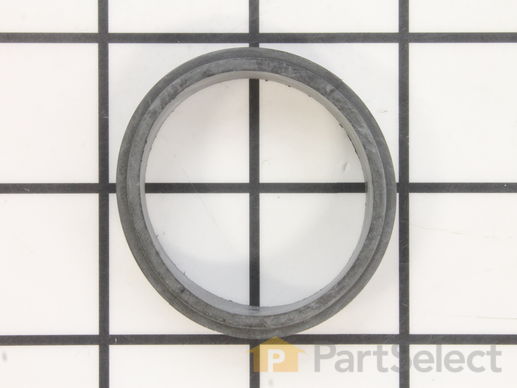
Replacing your General Electric Washer DISPENSER_SEAL

Replacing your DISPENSER_SEAL
Fixes Symptom 5% of time
★★★★★
★★★★★
5 Reviews

Rated by 1 customer 


A Bit Difficult 

30 - 60 mins 

Ratings submitted by customers like you who bought this part.   

  No Longer Available
PartSelect Number PS1021681
Manufacturer Part Number WH41X10131

Customer Repair Stories

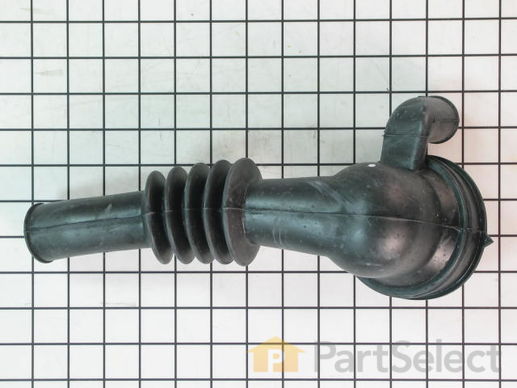
hole in drain line

All i did is pull the front panel off,then n removed the front clap with channel locks then the side clamp the same way.i then removed the main clamp with a Phillips screwdriver very simple not ever 15 minutes to do
  • glenn from northfeild, NH
  • Difficulty Level:
    Really Easy
  • Total Repair Time:
    Less than 15 mins
  • Tools:
    Pliers, Screw drivers
Was this instruction helpful to you?
Thank you for voting!

Leakage developed from holes in drain hose

Two people make the job easier: the smaller on his back doing the work, while the other positions lights and provides tools. Remove bottom panel. Loosen and slide the two small spring clips back from fittings. Locate (out of sight in the back) and loosen the screw-type tensioner on large, upper clamp. Remove old hose and position clamps on new hose. Seat all hose fittings securely and reposition spring clamps. A bit of soapy water for lubrication can help. Tighten down screw tensioner on large clamp. Test by pouring bucket of water into washer.
  • James from Cincinnati, OH
  • Difficulty Level:
    A Bit Difficult
  • Total Repair Time:
    30 - 60 mins
  • Tools:
    Pliers, Screw drivers
26 of 41 people found this instruction helpful.
Was this instruction helpful to you?
Thank you for voting!
Fixes Symptom 3% of time

Rated by 1 customer 


Easy 

30 - 60 mins 

Ratings submitted by customers like you who bought this part.   

$ 30.06
  In Stock
PartSelect Number PS1016305
Manufacturer Part Number WH01X10279
Fixes Symptom 2% of time

Rated by 1 customer 


Easy 

30 - 60 mins 

Ratings submitted by customers like you who bought this part.   

$ 28.71
  In Stock
PartSelect Number PS1019932
Manufacturer Part Number WH01X10277

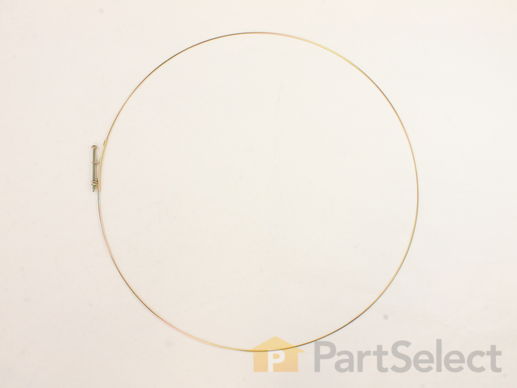
Replacing your General Electric Washer GASKET INSIDE CLAMP

Replacing your GASKET INSIDE CLAMP
Fixes Symptom 2% of time
★★★★★
★★★★★
9 Reviews

Rated by 3 customers 


Really Easy 

15 - 30 mins 

Ratings submitted by customers like you who bought this part.   

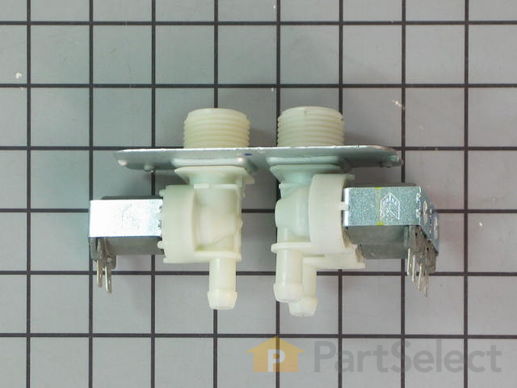
This is the replacement water valve for your washer. It has 2 inlets and 3 outlets. The water valve connects to the water source and solenoid wires, and ensures the tub has the right amount of water entering it. If your washer continues to fill after it is full, or if it fills slowly, you may need to replace this valve. Before you begin this repair, be sure to disconnect the water and power sources from your dishwasher. This part is sold individually and is an OEM part sourced directly from the manufacturer.

$ 131.18
  In Stock
PartSelect Number PS1482392
Manufacturer Part Number WH13X10029

Replacing your General Electric Washer Water Valve with 2 Inlets and 3 Outlets

Replacing your Water Valve with 2 Inlets and 3 Outlets

Customer Repair Stories

stops at rise

removed 5 screws, unscrew two more screws, remove the houses and disconnect the wires remove the watter valve.
  • Felipe from Houston, TX
  • Difficulty Level:
    Easy
  • Total Repair Time:
    15 - 30 mins
  • Tools:
    Screw drivers
12 of 24 people found this instruction helpful.
Was this instruction helpful to you?
Thank you for voting!

The washer stop and blinks in the RINSE MODE

I called a repair person to check my 15 months old GE front loader washer that stopped in rinse mode. After his inspection he said it was a deffected computer board and it would be very expensive to replace the 3 computers boards inside and it would be cheaper to buy a new top loader washer. The next day I lifted the top cover and found a taped plastic envelope with instructions titled “For service Technicians Only." On page 2, instruction on to how to enter the washer in to service mode and to test the washer:
Press : Signal, Delay, Signal, Delay (within 30 seconds of plug in washer)
Then rotate main knob to #102 and press Start:(the washer did a test for finding the problem) , and for me was : E22 , it means : replace solenoid valve assembly.
So I order the part from Partselect.com for $58.00 and my Washer runs beautiful, thanks to the instructions inside.
  • Miguel from Jacksonville, FL
  • Difficulty Level:
    Really Easy
  • Total Repair Time:
    30 - 60 mins
  • Tools:
    Nutdriver, Pliers
56 of 61 people found this instruction helpful.
Was this instruction helpful to you?
Thank you for voting!
Fixes Symptom 2% of time

$ 54.92
  In Stock
PartSelect Number PS1022525
Manufacturer Part Number WH41X10127
Fixes Symptom 1% of time

  No Longer Available
PartSelect Number PS1017093
Manufacturer Part Number WH41X10122
Fixes Symptom 1% of time
★★★★★
★★★★★
1 Review

Rated by 1 customer 


Very Easy 

Less than 15 mins 

Ratings submitted by customers like you who bought this part.   

$ 96.93
  In Stock
PartSelect Number PS16874133
Manufacturer Part Number WH11X34741

Customer Repair Stories

Water leaking

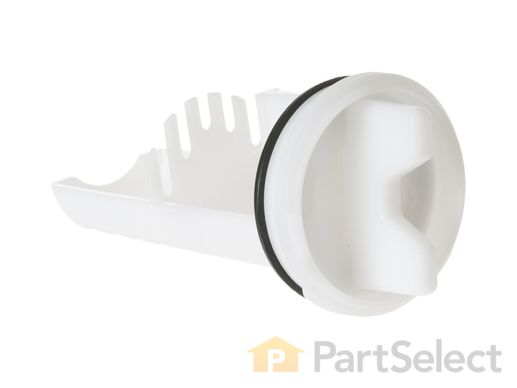
Did not have to use the new pump filter. The old one finally worked. I probably didn’t screw it in tight enough.
  • Herman from SAN DIEGO, CA
  • Difficulty Level:
    Very Easy
  • Total Repair Time:
    Less than 15 mins
2 of 3 people found this instruction helpful.
Was this instruction helpful to you?
Thank you for voting!
Fixes Symptom 1% of time

$ 10.77
  In Stock
PartSelect Number PS1017683
Manufacturer Part Number WH01X10266