How to Clean Your Top Load Washer
The inner basket of your washer typically keeps itself clean as it gets filled with water, clothing, and detergent. However, there are areas inside the appliance where detergent can build up along with dirt and grime which will eventually start to smell. Getting to those areas may appear a bit tricky, but we’ll show you that it is much easier than you think! However, if you happen to have a weak stomach, this repair may be rated as "difficult." Globs of old detergent and matted hair can defeat the best of us, so have a helper on standby if needed. Feel free to follow along with the video below as we go through how to clean your top load washer step-by-step.

Things You’ll Need
- Large sink or container with very hot water
- Your preferred commercial cleaning product
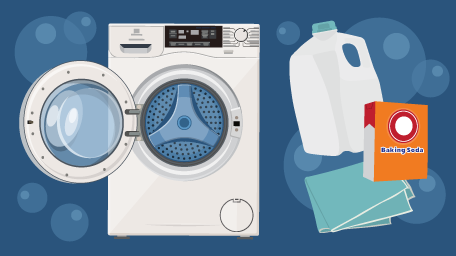
- baking soda and vinegar solution
- Soft brush and rag
- Old toothbrush
- A strong stomach
The Fabric Softener Dispenser
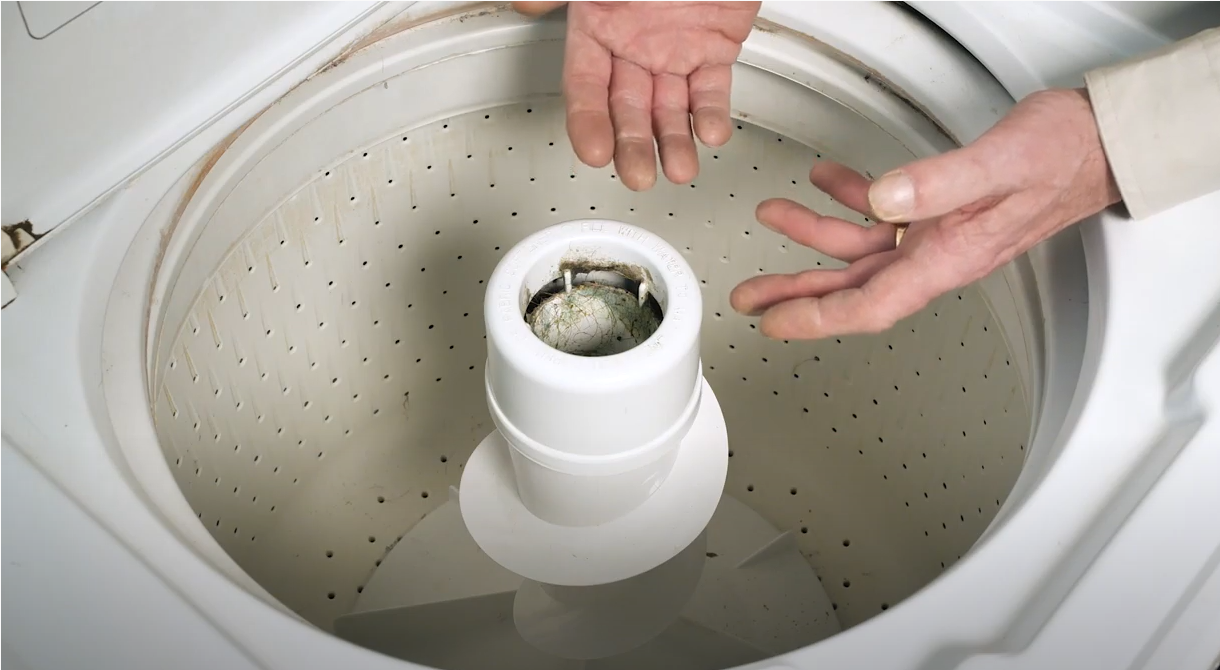
One area that detergent and fabric softener will build up in and begin to smell is the center agitator. Depending on your washer model, the agitator may be bolted to a transmission shaft and some may just be a friction fit. Some (particularly GE models) have an agitator drive block right at the bottom of the tub. The first part we’ll remove to clean is the fabric softener dispenser. Most other brands will have a removable fabric softener dispenser that can be popped off with a bit of pressure. To remove that you would simply grasp the outside edges and pull up sharply.
Fabric softener and detergent typically don’t mix very well, and can form a glue-like substance. To clean the dispenser, we suggest soaking in very hot water, and using baking soda or vinegar, or a combination of both. Allow it to soak and then scrub off the debris with a soft brush or rag. Be sure to rinse the dispenser thoroughly afterward.

The Agitator and Base
With the fabric softener dispenser removed we can see down the barrel of the agitator. If you can see the head of a bolt, it would indicate the agitator is attached to the transmission shaft. You can remove that bolt and pull up on the base of the agitator to remove it. Any build-up can be cleaned off with your preferred commercial cleaner and a soft brush. With the agitator removed we’ll also be able to clean any build-up on the bottom of the machine, which could be made up of detergent, minerals in the water, or fabric softener. Gently scrub any of the debris caught in the groves, as this is a hidden source of odor you can’t see when the agitator base is in place.

The Tub Cover and Outer Tub
Next we’ll raise the main top and lid assembly to expose the tub cover. Depending on your model the main top may be held in place with spring clips or there may be screws that attach it to the front panel or cabinet. Once lifted, we can inspect the tub cover. Around the perimeter, there are drain holes, which can end up clogged with debris. This can be scrubbed out and sprayed down with a commercial cleaner and hot water. To clean the underside of the cover, we’ll need to remove it from the tub. It is typically attached to the outer tub with plastic clips, and when detaching this style of plastic you may want to push down to depress the gasket, then release the individual clips holding the cover in place. Once again, wash this part with hot water, cleaner, and a soft brush. Be sure not to distort the gasket so that the tub cover is able to seal against the outer tub when reattached. With the cover still removed, you can clean the top portion of the inner tub basket.

Final Steps and General Maintenance
To finish up, we’ll look at the water inlet injector and see if there’s any buildup, which again can be a cause of odor. This area can be cleaned with a spray cleaner or a vinegar and baking soda solution.

You did it! Now that you've finished deep cleaning your machine, here are some tips so it never gets that filthy again. We suggest at the end of each cycle that you leave the lid open to allow the inner basket and outer tub to dry thoroughly between loads. As well, be sure to wipe up any spills of fabric softener, detergent, or liquid bleach as they occur. Wipe down the lid periodically and get into those nooks and crannies with a toothbrush. In between these deep cleans, you may want to run your washer on a hot water cycle with vinegar or bleach (no clothes included, just an empty drum!). This can help break down some of the build-up of detergent and minerals in your machine.
If you managed to clean all the hair out of your washer's tricky spots, you're officially ready to tackle the next project: snaking the shower drain.
If you’ve noticed while cleaning that your appliance needs some repair, we have thousands of manufacturer-approved washer parts, which you can find by searching for your model number. For more tips and tricks, be sure to subscribe to our YouTube channel!


