Parts That Fix Kenmore Refrigerator 10651773510 Ice maker not making ice
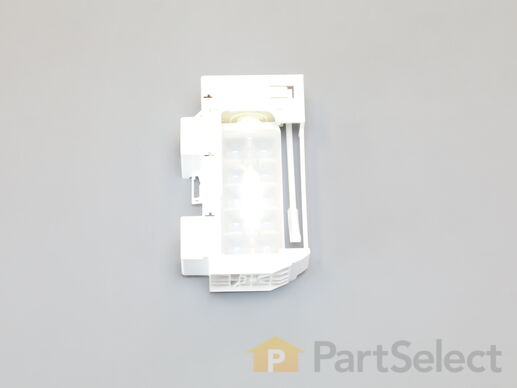
This ice maker is for refrigerators. Ice maker includes the ice mold and the control device. The ice maker receives water from the water inlet valve and then holds the water in the ice mold until the water freezes solid. It then automatically ejects the ice and refills to continue the process until the ice storage in is full. Safely store any food that could deteriorate while the power is off and unplug the refrigerator when installing this part. Wear work gloves to protect your hands.
Customer Repair Stories
-
Tim from PARKER, CO
-
Difficulty Level:Easy
-
Total Repair Time:Less than 15 mins
-
Tools:Nutdriver, Screw drivers
(not sure if this is necessary but is safer)
Remove the ice bucket.
Cover the Ice auger with a hand towel to catch any screws which my get dropped.
Remove four Philips screws holding plastic cover to inside of the door. there are no clip/snaps to worry about ... Read more but on/off switch needs to be un plugged. Remove cover.
Remove two nut head screws holding old ice maker.
Remove wiring harness from ice maker and lift ice maker up and out. There are two tabs on the door.
Unplug the wiring harness from the ice maker..
Installation: Press the wiring harness into clips on the new ice maker. Install ice maker onto door insuring it is over the tabs on door and the holes for nut screws line up. Plugging the wiring harness in and install two screws.
Plug on/off wiring onto switch and press plastic cover onto inside of door. Take care that it fits inside of rubber door seal. Install four philips screws.
Remove hand towel and install ice bucket making sure the ice maker is switched on. Close door.
Turn on water and electricity.
This took me 25 min. and I am sure would go faster if I had had instructions.
My refrigerator took awhile before it started to make cubes but has been working like new ever since.
This task is easy go for it.
-
James from NEW LONDON, NH
-
Difficulty Level:Easy
-
Total Repair Time:15 - 30 mins
-
Tools:Nutdriver, Screw drivers
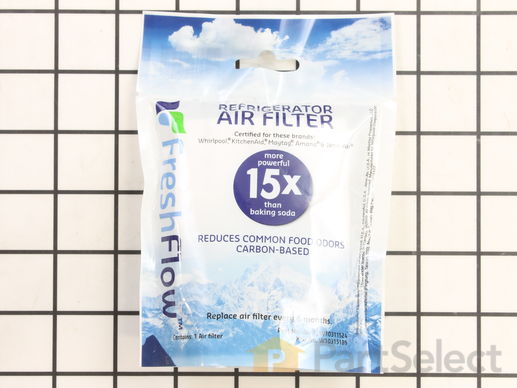
This Refrigerator Air Filter is a white 1.8x3.2" plastic filter which neutralizes odor and bacteria in the air. It should be replaced every six months at a minimum. Refer to your user manual and model number to see if this filter is right for your fridge. Location for storage of the air filter may vary from model to model, but generally, you will find a small cover on the back-middle-top of your fridge, which can be popped off to reveal the air filter, which can be easily changed out from there. This part does not come sold with the indicator; it is the filter only. Sold individually.
Replacing your Whirlpool Refrigerator Refrigerator Air Filter

Customer Repair Stories
-
Tom from LONGMONT, CO
-
Difficulty Level:Very Easy
-
Total Repair Time:Less than 15 mins
-
David from Dublin, NH
-
Difficulty Level:Very Easy
-
Total Repair Time:Less than 15 mins
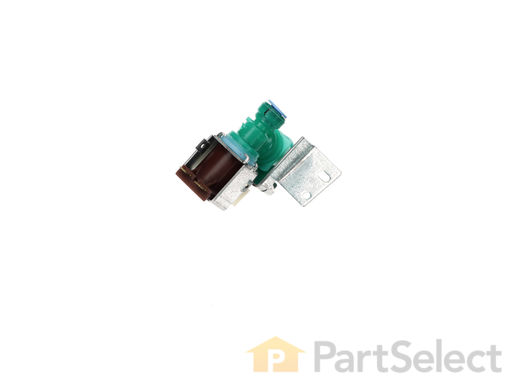
When energized, this part releases water from the supply line into the ice mold.
Customer Repair Stories
Shut off water to frig at wall shut off, unhooked both hoses and plug, hooked new part up, turned water back on. Watched couple days to make sure it wasn't leaking. Vacuumed out back good, which I was amazed didn't ... Read more really need it, hooked part back in place, replaced back with screws.
-
Cathy from LASCASSAS, TN
-
Difficulty Level:Very Easy
-
Total Repair Time:Less than 15 mins
-
Tools:Screw drivers, Wrench (Adjustable)
-
Steven from WEST JORDAN, UT
-
Difficulty Level:Really Easy
-
Total Repair Time:30 - 60 mins
-
Tools:Nutdriver, Pliers, Screw drivers, Socket set
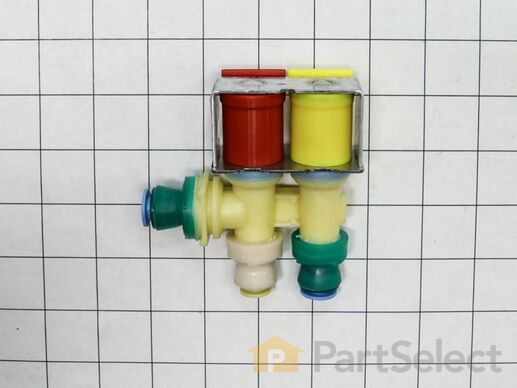
The dual secondary water inlet valve controls the flow of water to both the refrigerator’s ice maker and water dispenser, ensuring a steady and reliable water supply. It is designed for select refrigerator models and functions as a direct replacement for the original part. Before installing, unplug the refrigerator and store perishable items properly to prevent spoilage. The installation process may require basic tools, and wearing protective gloves is recommended for safety.
Customer Repair Stories
1. Unplug the fridge
2. Place a towel under the fridge to absorb any over flow
3. Turn off the wat ... Read more er supply to the fridge - this is usually at a tap valve on the cold water line. trace the line from the back of the fridge to find the connection point. In the unlikely event there is not valve at the tap valve or if it is inaccessible, turn off the main water supply. If you have to turn off the main supply turn on a faucet somewhere in the house to bleed the pressure from the line.
4. If the valve is tied to the frame or line , undo the tie or cut the zip tie (in my case)
5. Unplug each electric connector from the old valve to the new one.
6. The water connections are all quick connect so release the intake line by pressing down on the white ring and removing the tube. Press the tube into the new valve.
7. Repeat with each line going to the refrigerator making sure to plug each tube into the same outlet you pulled it from
8. In each case to minimize water coming out of the tube, hold your finger over the end while transferring to the new valve.
9. Verify that all tubing ends are FULLY pressed to the valve
10. Turn the water back on slowly and check for leaks. if some are seen turn water back off and repeat steps 6 thru 9.
11. Plug fridge in
12. Run water from the door faucet to bleed any air out
13. Clean up any spillage
14. Replace dust cover (if present) and replace refrigerator in place
Piece of cake
-
Cliff from BELTON, MO
-
Difficulty Level:Easy
-
Total Repair Time:30 - 60 mins
-
Tools:Pliers
Unfortunately, this DID NOT correct the problem. Frustrated to spend that kind of money on something that was not needed.
-
John from MIDLOTHIAN, TX
-
Difficulty Level:Easy
-
Total Repair Time:1- 2 hours
-
Tools:Screw drivers, Socket set
This part is a replacement refrigerator drive shaft seal for your refrigerator. The drive shaft seal protects the auger motor from water and condensation that may leak down the drive shaft from the ice bucket. If the seal is broken, water and condensation can get in, causing the ice maker to fail. To replace the seal, first remove the ice bucket from your freezer. Then remove the two screws on the drive shaft holder, and use a pair of pliers to remove the drive shaft. At this point you can remove the seal from the drive shaft. Be sure to clean the area that the seal sits in before you reinstall the drive shaft. This part is white in color and is about an inch in diameter. The seal is sold individually.
Customer Repair Stories
-
John from DUNNELLON, FL
-
Difficulty Level:Really Easy
-
Total Repair Time:30 - 60 mins
-
Tools:Pliers, Socket set
This coupling is used for indoor ice dispensers.
Customer Repair Stories
2. Unscrew the two Phillips screws on the base of the ice box compartment
3. Lift up the coupling and shaft (be careful because there is a spring between shaft and coupling and washer)
4. Remove old coupling
5. Replace with new coupling and remember to put back the spring
6. Insert back shaft ... Read more with coupling and washer
7. Screw back on the Phillips screws
8. Replace back the icebox
-
Robert from WESTFORD, MA
-
Difficulty Level:Very Easy
-
Total Repair Time:Less than 15 mins
-
Tools:Screw drivers
-
patrick from fairfax, VA
-
Difficulty Level:Really Easy
-
Total Repair Time:Less than 15 mins
-
Tools:Socket set
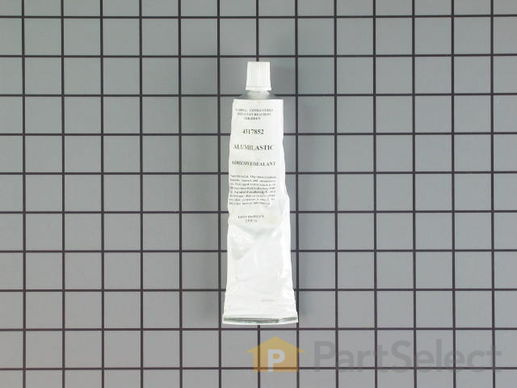
Also known as Alumilastic Cement.


