Parts That Fix Kenmore Dryer 11069822801 Door won’t close
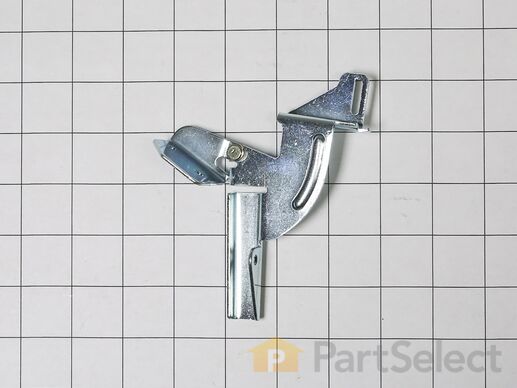
This part replaces your appliances latch (Door Latch Kit, Door Catch, Dryer Door Latch Kit). On your appliance you will find both a strike and a catch. The strike is mounted on the body of the dryer, while the catch is mounted on the dryer door. These two parts work together to keep your dryer door closed. The catch holds the door strike to keep the door closed during the drying cycle. If the door does not latch closed, you won’t be able to start a drying cycle. If this part is malfunctioning, you may not be able to open or close your door. In some instances, it may seem like your door is closing, but if it is not latching properly you won’t be able to start your drying cycle. You should replace this part as soon as it’s malfunctioning. Your dryer may run even though the latch is malfunctioning, but it is unsafe if the dryer continues to run while the door is open. This replacement part features 1 door latch kit which includes 2 strikes, 3 catches, and a set of instructions. This model is constructed of plastic and metal, and comes in white/silver.
Replacing your Kenmore Dryer Dryer Door Catch Kit

Customer Repair Stories
-
Melody from North Las Vegas, NV
-
Difficulty Level:Really Easy
-
Total Repair Time:Less than 15 mins
-
Terri from Saint Augustine, FL
-
Difficulty Level:Really Easy
-
Total Repair Time:Less than 15 mins
This dryer door switch is a simple on/off switch mechanism that prohibits the dryer from operating when the door is open, and operates the drum light. White in color and 6.5 inches long, this OEM switch is comprised of plastic and metal, and features the switch and three wires that comprise the part. Sold individually, this part attaches to the inside of the top end of the front panel. One end attaches to the wiring harness, the other goes through the panel to make contact with the door when the door is closed. Over time, this part can be subject to material fatigue or breakage due to frequent use or rough handling. If it breaks or is defective, you won't be able to start or stop your drying cycle, depending on the position your switch broke in. The easiest way to test this part for functionality is to test it by hand. Push on the black tab that sticks out of the front panel to make contact with your dryer door; if there is no resistance in the tab and it doesn't make a click sound, you may need to replace it.
Replacing your Whirlpool Dryer Dryer 3 Wire Door Switch

Customer Repair Stories
-
RICHARD from NORCROSS, GA
-
Difficulty Level:Really Easy
-
Total Repair Time:15 - 30 mins
-
Tools:Nutdriver, Screw drivers
-
pat from lisbon,, OH
-
Difficulty Level:Really Easy
-
Total Repair Time:15 - 30 mins
-
Tools:Screw drivers, Wrench set
Right Side
Sold Individually.
Customer Repair Stories
-
Keith W. from Rushville, OH
-
Difficulty Level:Really Easy
-
Total Repair Time:Less than 15 mins
-
Tools:Pliers
Customer Repair Stories
-
Donna from S SAN FRAN, CA
-
Difficulty Level:Really Easy
-
Total Repair Time:15 - 30 mins
-
Tools:Pliers, Screw drivers
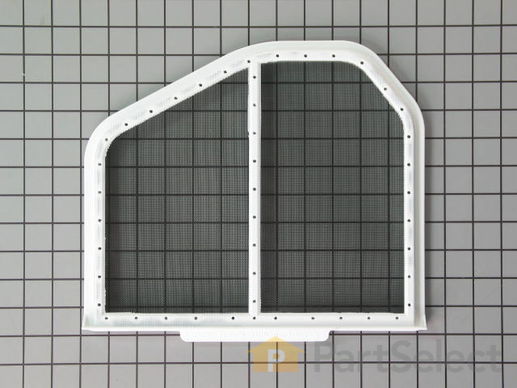
The filter collects lint during the drying cycle. This filter is 12 1/2 inches wide and 10 1/2 inches deep. Replacing the lint filter is an easy repair which requires no tools. When replacing the lint filter, check the filter slot for a buildup of lint, which can be a fire hazard. Continue to check often to make sure the filter and slot are both cleared of lint.
Replacing your Kenmore Dryer Dryer Lint Filter

Customer Repair Stories
-
Catherine from Atascadero, CA
-
Difficulty Level:Really Easy
-
Total Repair Time:Less than 15 mins
-
JEFFREY from FALL RIVER, MA
-
Difficulty Level:Really Easy
-
Total Repair Time:Less than 15 mins


