Parts That Fix Kenmore Dryer 11069822801 Not Heating
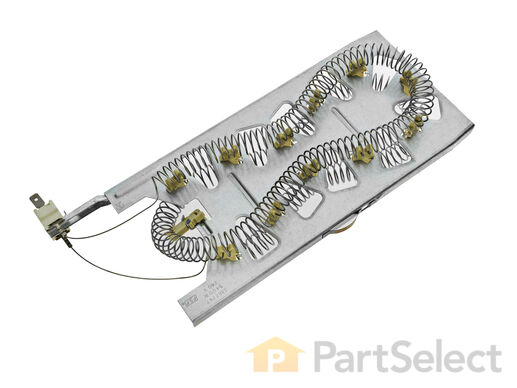
When connected to electricity the dryer heating element glows red hot and generates heat. When air is blown over it, it heats the air which is used to dry the clothes. The heating element fits inside the heater housing inside the dryer. Wear and tear on the heater coil from use will eventually cause the coil to break and the element to fail. When this part fails it can cease to produce any heat. Alternately, the coil could break and short to ground allowing the dryer to continue to heat even when turned off. The latter is a fire hazard and the dryer should be disconnected from power until the element is replaced. If the element coil breaks, the element needs to be replaced. This model is 11 by 5 inches with 5/16” terminals, metal and ceramic, and comes in black. It is sold individually.
Replacing your Kenmore Dryer Dryer Heating Element

Customer Repair Stories
-
Lou from Orlando, FL
-
Difficulty Level:Easy
-
Total Repair Time:15 - 30 mins
-
Tools:Nutdriver, Screw drivers
-
Alan from Brooksville, FL
-
Difficulty Level:Easy
-
Total Repair Time:30 - 60 mins
-
Tools:Socket set
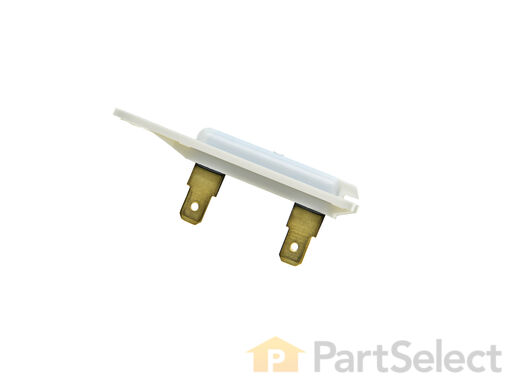
The Dryer Thermal Fuse (Thermal Cutoff, Temperature Fuse) is a 2 by ½ inch, white, plastic safety mechanism that stops the flow of electricity to the motor circuit when a dryer overheats. If the fuse is missing or broken, your dryer will not start. A thermal fuse fails when the exhaust temperature exceeds the fuse rating, that is when the temperature rises above the temperature that the fuse is designed to handle. This can occur when a heating element is shorted, a regulating thermostat or thermister fails, or with a partially restricted exhaust vent. The fuse attaches to the blower wheel housing. It must be replaced when there is no longer continuity between the terminals. This is a one-time fuse, meaning it cannot be re-set. The replacement part features two 3/16 inch terminals.
Replacing your Whirlpool Dryer Dryer Thermal Fuse

Customer Repair Stories
Ascertaining the problem was the most time consuming part.
The actual repair was quite simple and did ... Read more n't take but 15-20 minutes.
-
Dana from Grassvally, CA
-
Difficulty Level:A Bit Difficult
-
Total Repair Time:More than 2 hours
-
Tools:Screw drivers
Not knowing what the problem was I started looking at the coils and could not see any broken parts.
So then checked the thermal fuse for continuity I removed the two wires from it with a small pair of ... Read more needle nose pliers, it was held in place by two screws, once they were removed the fuse came out easily, I checked continuity with a volt meter placing the meter on X1 Ohms and could not get a reading.
I replaced with a new one and put it all back together the way I took it apart.
Then I plugged it in and it worked first time, I now have warm dry clothes.
-
ANTHONY from CHESHIRE, CT
-
Difficulty Level:Easy
-
Total Repair Time:15 - 30 mins
-
Tools:Nutdriver, Pliers, Screw drivers
The internal-bias thermistor (Thermistor, Dryer Thermister, Dryer Thermistor) prevents the dryer from overheating by monitoring and controlling the temperature of the inside of the dryer drum. It is located on the blower housing, next to the thermal fuse. If your thermistor is defective, drying time could be prolonged or you could get a fault code. You could also notice your dryer overheating. You can test the outlet thermistor on a multimeter, it should read 10Kohms (10,000 ohms) of resistance at room temperature. It can tolerate 10% fluctuation. If your reading indicates the part is defective, it will need to be replaced. This model is white plastic. It is sold individually.
Replacing your Whirlpool Dryer Dryer Thermostat Internal bias

Customer Repair Stories
-
Dixon from Santa Fe, NM
-
Difficulty Level:Easy
-
Total Repair Time:30 - 60 mins
-
Tools:Nutdriver
-
Jim from Tucson, AZ
-
Difficulty Level:A Bit Difficult
-
Total Repair Time:15 - 30 mins
-
Tools:Nutdriver, Screw drivers, Socket set
This kit includes one high limit thermostat with a limit of 250 degrees Fahrenheit, and one thermal cut-off fuse with a limit of 360 degrees Fahrenheit. The thermostat and fuse help prevent the dryer from overheating.
Replacing your Kenmore Dryer Dryer Thermal Cutoff Kit

Customer Repair Stories
-
Arron from El Reno, OK
-
Difficulty Level:Easy
-
Total Repair Time:15 - 30 mins
-
Tools:Pliers, Screw drivers
-
Tomasz from University Heights, OH
-
Difficulty Level:Really Easy
-
Total Repair Time:Less than 15 mins
-
Tools:Socket set
This kit is used for electric clothes dryers, and it comes with a yellow wire nut.
Replacing your Whirlpool Dryer Dryer Heating Element Wire Kit

Customer Repair Stories
-
Joseph from Austin, TX
-
Difficulty Level:Really Easy
-
Total Repair Time:15 - 30 mins
-
Tools:Screw drivers, Socket set
-
Betty from Erie, PA
-
Difficulty Level:Really Easy
-
Total Repair Time:15 - 30 mins
-
Tools:Socket set
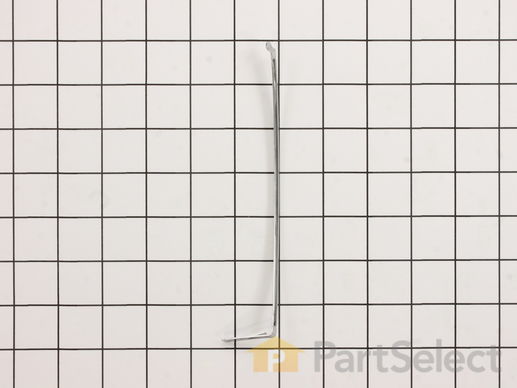
This is the moisture sensor for your dryer. It helps detect the amount of moisture in your clothes during the dryer cycle. If you notice your clothes are still wet after an automatic dryer cycle is done, you may need to replace the sensor. You will find the moisture sensor behind the lint screen. Be sure to disconnect the power source from the dryer before you begin this repair. Note: Some model's require two sensors, please order quantity needed. Sensor only, harness is not included. This part is sold individually.
Replacing your Whirlpool Dryer Dryer Electrode Sensor

Customer Repair Stories
-
Jason from Colorado Springs, CO
-
Difficulty Level:Easy
-
Total Repair Time:Less than 15 mins
-
Tools:Pliers
Separate filter grill from housing. Using the pliers, compress the tabs on the sensor plugs and push it thru the grill. The small blade screwdriver may come in h ... Read more andy here to pry up on sensor to assist in pulling the plug end through the grill. Replace the sensors by hooking short end into grill and pushing the long end through the grill. When replacing the housing to the dryer, the most difficult thing is getting the screwdriver onto the recessed screws. Be sure to put the tab on top of the housing under the dryer frame when rotating the assembly into place.
-
Jack from JONESBORO, AR
-
Difficulty Level:Easy
-
Total Repair Time:30 - 60 mins
-
Tools:Pliers, Screw drivers


