EasyApplianceParts is now PartSelect! We've merged our sites to provide a better shopping experience for you.   Full Details
Back
Back
Keep typing for more specific results...
Models > FBD2400KW10B > Symptoms > Leaking

Parts That Fix Frigidaire Dishwasher FBD2400KW10B Leaking

Leaking is a commonly reported symptom for the FBD2400KW10B Frigidaire Dishwasher, and we have put together a full guide on how to fix this. This advice is based on feedback from people who own this exact appliance. We have listed the most common parts for your FBD2400KW10B Frigidaire Dishwasher that will fix Leaking. We have included repair instructions, and helpful step-by-step video tutorials. If you are experiencing this issue, not to worry, DIYers just like you have fixed this, and shared their experience to help you!
Fixes Symptom 61% of time

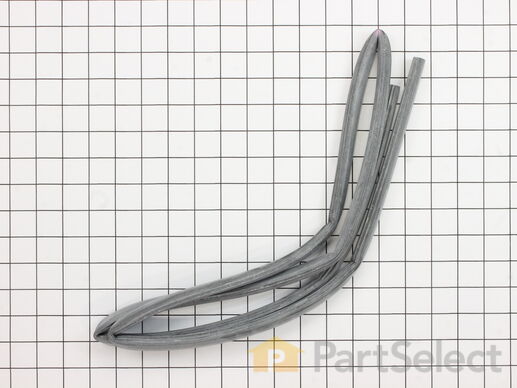
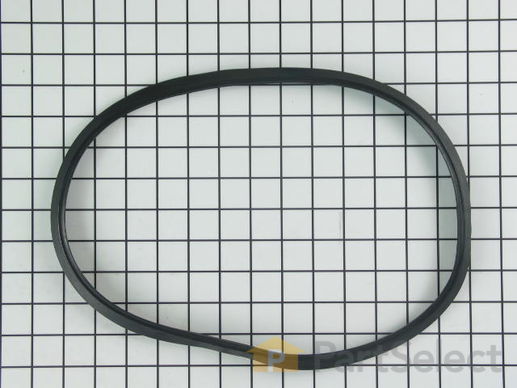
This grey OEM dishwasher tub gasket is a 73" grey rubber part that creates a seal around the dishwasher to prevent any water leakage during a cycle. If it's damaged or broken, you'll start seeing water leaking out. If broken, it should be replaced. Refer to your model number and user manual to ensure this part is right for you. When making this repair, open the dishwasher door and take out the lower dish tray for better access. Pull out the old gasket, and clean the channel with a rag. Push the new gasket into place into the notch on the door, which you should see upon close inspection, using a flat-head screwdriver for assistance if necessary. We do not recommend cutting any additional length off on the tub gasket if any is present during your repair.

$ 15.99
  In Stock
PartSelect Number PS8260227
Manufacturer Part Number 154827601

Replacing your Frigidaire Dishwasher Dishwasher Tub Gasket (Gray)

Replacing your Dishwasher Tub Gasket (Gray)

Customer Repair Stories

Dishwasher was leaking at the lower left side of the door.
Probably the easiest repair job that you could encounter. I removed the old gasket from the door frame. Cut the new gasket to length and pushed it into the door frame.

Water leak solved...
  • John from Hummelstown, PA
  • Difficulty Level:
    Really Easy
  • Total Repair Time:
    Less than 15 mins
22 of 26 people found this instruction helpful.
Was this instruction helpful to you?
Thank you for voting!
dishwasher was leaking water
I removed old tub gasket, which the door presses against to make a seal, and put the new one in. Flat tip screwdriver was used to gently press gasket in.
  • Charles from Milton, FL
  • Difficulty Level:
    Really Easy
  • Total Repair Time:
    Less than 15 mins
  • Tools:
    Screw drivers
175 of 205 people found this instruction helpful.
Was this instruction helpful to you?
Thank you for voting!
Fixes Symptom 10% of time

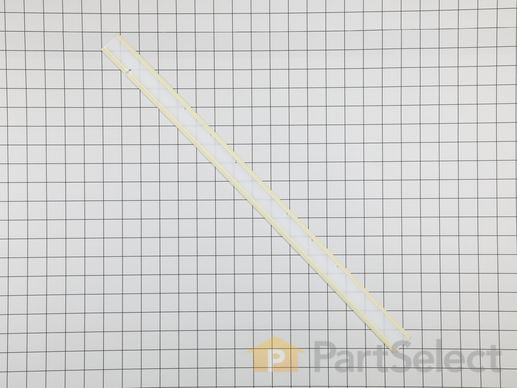
This door seal is for dishwashers. Door seal seals the gap between the opening to the dishwasher tub and the outer edge of the door. After installing the door seal, shut the dishwasher door and leave the door closed for several hours to properly seat the new door seal.

$ 8.91
  In Stock
PartSelect Number PS11703834
Manufacturer Part Number 5304500204

Customer Repair Stories

Replace lower gasket on dishwasher
Remove the lower dish tray and set aside. Remove two Phillips screws on each side of inner liner, then close door. You should then be able to slip off the external facing (set aside). Pull lower gasket toward tub until fully removed. Reinsert the new gasket into the same tight slot, making sure that the notch inserts into the slot and the flexible gasket runs the full length of the tub. The gasket should bow out slightly toward the tub. Also make sure that the side seals do not interfere with the bottom seal fully mating with the floor of the tub. Close the door and check to make sure the lower gasket reveal is the same across the length of the inner liner. Reinstall the dish tray, then reinstall the external facing, using the same four Phillips screws to secure. Test sealing by running a short cycle on the dishwasher.
  • Steve from GERMANTWN HLS, IL
  • Difficulty Level:
    Easy
  • Total Repair Time:
    15 - 30 mins
  • Tools:
    Screw drivers
10 of 18 people found this instruction helpful.
Was this instruction helpful to you?
Thank you for voting!
Dishwasher leaking at the bottom of door
The door seal comes off easy. No need to take apart the door. The new seal fits snug. Make sure the notch on the right side of the door seal is installed to the right side of the bottom of door
  • Richard from CASTLE ROCK, CO
  • Difficulty Level:
    Really Easy
  • Total Repair Time:
    Less than 15 mins
7 of 8 people found this instruction helpful.
Was this instruction helpful to you?
Thank you for voting!
Fixes Symptom 8% of time

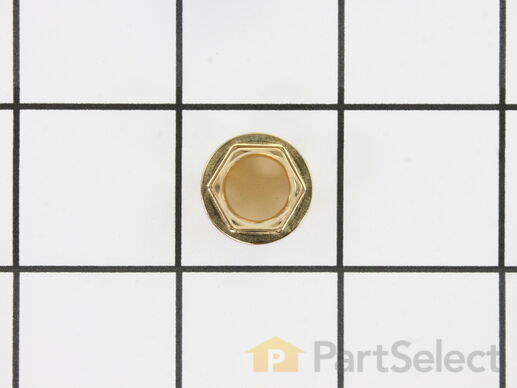
The heating element nut is used to connect the heating element to the dishwasher tub. If water is leaking from underneath your dishwasher, you may need to tighten or replace the heating element nut. Replacing the nut is an easy job, does not require any specialty tools, and should not take you more than 10 minutes. For our step by step guide, click the video below. The brass nut measures 7 inches in length x 1 inch in width x 5 inches in height, and fits most dishwashers. To see if this part is compatible with your dishwasher, check the list of compatible brands below.

$ 12.95
  In Stock
PartSelect Number PS1524878
Manufacturer Part Number 154106202

Replacing your Frigidaire Dishwasher Heating Element Brass Nut

Replacing your Heating Element Brass Nut

Customer Repair Stories

Water leak underneath dishwasher
Unplugged dishwasher, removed the 2 wires clipped to the heating element, removed both cracked nuts, replaced with new nuts from PartSelect, clipped on wires, plugged in and did a test cycle. Based upon service quote from Best Buy, I saved myself $125.00 for just the call out, not including parts and labor.
  • Richard from New Orleans, LA
  • Difficulty Level:
    Really Easy
  • Total Repair Time:
    Less than 15 mins
  • Tools:
    Nutdriver, Screw drivers, Wrench (Adjustable)
11 of 16 people found this instruction helpful.
Was this instruction helpful to you?
Thank you for voting!
Water leaking under the dishwasher
I looked under and found that 2 brass nuts that secured the heater element through the base housing of the dishwasher has split down each side of the nut and no longer was tight enough to keep water from leaking around either end of the heater element. I powered down the dishwasher at the circuit breaker and then reached under the dishwasher and pulled away the 2 wires that were attached to each side of the heater element. I removed the two nuts and replaced them with the parts I ordered from partselect.com. I then put the appropriate wires back at the end of the heater element and ran the dishwasher to check for leaks. No leaks... it was fixed.
  • Dennis from Tryon, NC
  • Difficulty Level:
    Really Easy
  • Total Repair Time:
    Less than 15 mins
  • Tools:
    Wrench (Adjustable)
78 of 86 people found this instruction helpful.
Was this instruction helpful to you?
Thank you for voting!
Fixes Symptom 6% of time

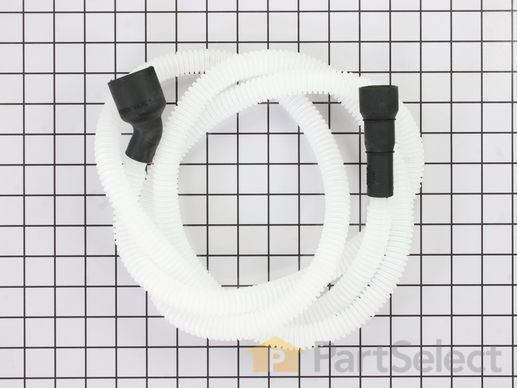
If your dishwasher is leaking or not draining properly, you may need to replace the drain hose. The drain hose connects to the pump located below the lower spray arm and aids in proper dishwasher drainage. This white and black plastic hose is 7.5 feet long. For this repair, you will need either a 1/4-inch or 5/16-inch nut driver, depending on your model. You will need to remove the lower access panel on your dishwasher to complete this repair; it is often easier to remove the dishwasher from the cabinet to do so. Be sure to disconnect the dishwasher from both the power and water supply before completing this repair.

$ 38.95
  In Stock
PartSelect Number PS9494138
Manufacturer Part Number 807117001

Replacing your Frigidaire Dishwasher Dishwasher Drain Hose

Replacing your Dishwasher Drain Hose

Customer Repair Stories

A hole in the dishwasher dicharge hose.
I had to remove the dishwasher from under the counter, flip it on it's side to gain access to the discharge hose attachment point, removeit, remove the other end of the hose from the sink-side and replace the hose. The sink-end of the hose has a 'collar' that must be cut to fit the fitting on the sink.
  • Lee from Columbus, OH
  • Difficulty Level:
    Easy
  • Total Repair Time:
    15 - 30 mins
  • Tools:
    Nutdriver, Screw drivers
25 of 50 people found this instruction helpful.
Was this instruction helpful to you?
Thank you for voting!
Drain hose was missing
My friend bought a used dishwasher at a garage sale, the previous owner had thrown away the drain hose because it was "nasty" they said....remember it could have been cleaned. When I went to install it, I removed the old washer, and discovered that the old hose would not fit on the replacement dishwasher. I went to the local repair shop, armed with the model and serial #'s. they searched and searched their books and could not find the hose part number. they said "good luck" when I left...I went home and looked up the model on your web site, ordered the hose, and in 3 days had the dishwasher installed and running in about 30 minutes...thanks for prompt shipping.. I couldn't believe it arrived so soon...Mowerman
  • John from Carthage, MO
  • Difficulty Level:
    Really Easy
  • Total Repair Time:
    15 - 30 mins
  • Tools:
    Screw drivers, Wrench set
41 of 47 people found this instruction helpful.
Was this instruction helpful to you?
Thank you for voting!
Fixes Symptom 4% of time

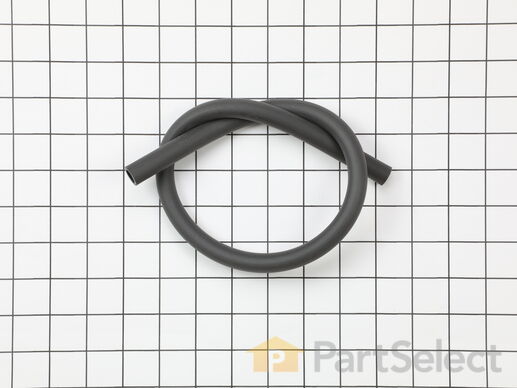
The tubing carries water from the water inlet valve to the tub.

$ 20.95
  In Stock
PartSelect Number PS12746654
Manufacturer Part Number 5304523457

Replacing your Frigidaire Dishwasher Dishwasher Water Inlet Tubing

Replacing your Dishwasher Water Inlet Tubing

Customer Repair Stories

Water fill hose leaked.
It is rather easy to repair. After you remove the screws that secure the top of the dishwasher to the countertop you can slide the disherwasher out far enough to gain access to the hose. The hose pulls off after you slide the spring clips down the hose far enough so they no longer grab. Then simply reverse the order and you're done. Less than 30 minutes and you should no longer have to hand wash your dishes!
  • Thomas from Wheaton, IL
  • Difficulty Level:
    Easy
  • Total Repair Time:
    15 - 30 mins
  • Tools:
    Pliers, Screw drivers
7 of 8 people found this instruction helpful.
Was this instruction helpful to you?
Thank you for voting!
Old hose was split
The Parts finder was the big help. After that all that was needed was to loosen the clamps and replace the old hose with the new one A piece of cake. Slide the washer back into place and replace the screws that hold it to the counter. Out and back in, 30min. top end to complet the job
  • Sandra R. from Groveland, FL
  • Difficulty Level:
    Really Easy
  • Total Repair Time:
    15 - 30 mins
  • Tools:
    Pliers, Screw drivers
15 of 19 people found this instruction helpful.
Was this instruction helpful to you?
Thank you for voting!
Fixes Symptom 2% of time

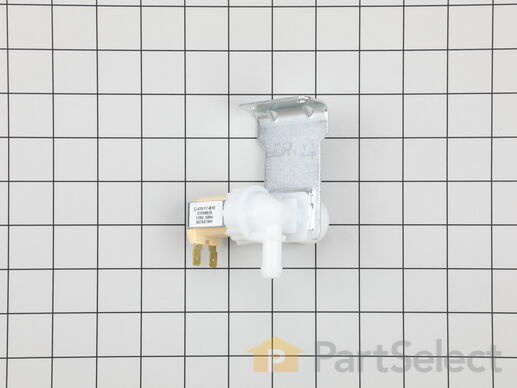
This water inlet valve is for dishwashers. Water inlet valve supplies water to the dishwasher. Unplug the dishwasher and shut off the water supply before installing this part

$ 55.39
  In Stock
PartSelect Number PS9865067
Manufacturer Part Number 807047901

Customer Repair Stories

Unit would not fill with water.
I left the unit in place. I removed the bottom cover, unplugged power from GFI receptacle and closed water supply valve. I unplugged the electrical connection. I put a dishtowel under water inlet valve and removed water supply. I removed two screws from inlet valve bracket that allowed me to rotate the valve and used pliers to remove water hose clamp and hose. I installed the new valve in reverse order. I checked for leaks; found none. Life is good again!
  • Cyril from WAYNESFIELD, OH
  • Difficulty Level:
    Really Easy
  • Total Repair Time:
    15 - 30 mins
  • Tools:
    Pliers, Screw drivers
5 of 6 people found this instruction helpful.
Was this instruction helpful to you?
Thank you for voting!
Dishwasher was not filling up at the start of the cycle.
This was really easy. Have done it before on other older dishwashers in the past.
Turned off the breaker for the dishwasher. Turned off the water supply valve. Unscrewed the screws in the panel that hides the parts under the dishwasher. Unscrewed the screws anchoring the dishwasher to the counter. Slid the dishwasher out about a foot. Inlet valve was located on the front left side of the dishwasher. Unclipped the wire harness. Placed a cookie sheet under the water line. Unscrewed the water line from the inlet valve. Unscrewed the two Phillips head screws holding the valve to the dishwasher frame. Got the new part. Put the screws back into the frame. Reconnected the water line and wire harness. Slid the washer back into place. Turned on the water valve. Watched for leaks. Turned the breaker back on and started the cycle. Watched for leaks. Once I saw there weren’t any replaced the screws anchoring it to the counter and replaced the cover on the bottom. That was it! Took me longer to type out the steps than it did to actually do the repair.
  • CHERI from CREEKSIDE, PA
  • Difficulty Level:
    Very Easy
  • Total Repair Time:
    Less than 15 mins
  • Tools:
    Screw drivers, Wrench (Adjustable)
12 of 13 people found this instruction helpful.
Was this instruction helpful to you?
Thank you for voting!
Fixes Symptom 2% of time

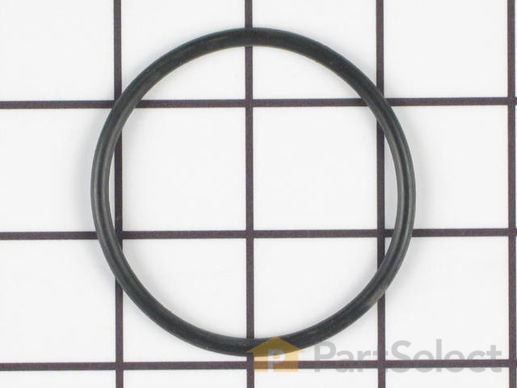
This genuine Frigidaire O-Ring is an essential component for your dishwasher's Motor & Pump Assembly. It functions perfectly in Frigidaire, Electrolux, White Westinghouse, and Tappan models, ensuring a seamless fit every time. Known as the Frigidaire Front O-Ring, this high-quality piece aids in the prevention of water leakage through the pump. Please ensure mains power and water supplies are disconnected for safety before commencing replacement. This product is recognized for durability and reliability, providing peace of mind for your household repairs. Always verify the model number when ordering to guarantee the proper fit.

$ 55.39
  In Stock
PartSelect Number PS420467
Manufacturer Part Number 154247001

Replacing your Frigidaire Dishwasher O-Ring - Front

Replacing your O-Ring - Front
Fixes Symptom 2% of time

Ensure the longevity of your Frigidaire dishwasher with this genuine O-Ring - Rear. Sourced directly from Frigidaire, the O-Ring is an essential component in your appliance as it helps prevent water leakage through the pump. This part is recommended for certain models of Frigidaire, Electrolux, White Westinghouse, and Tappan appliances. To ensure a precise fit and reliable functionality, please verify your appliance model before purchasing. Remember to safely unplug your dishwasher and shut off the water supply before replacing this part, and consider wearing work gloves to protect your hands. Keep your Frigidaire dishwasher in optimum condition with this genuine O-Ring - Rear.

$ 55.39
  In Stock
PartSelect Number PS420466
Manufacturer Part Number 154246901

Replacing your Frigidaire Dishwasher O-Ring - Rear

Replacing your O-Ring - Rear
Fixes Symptom 1% of time

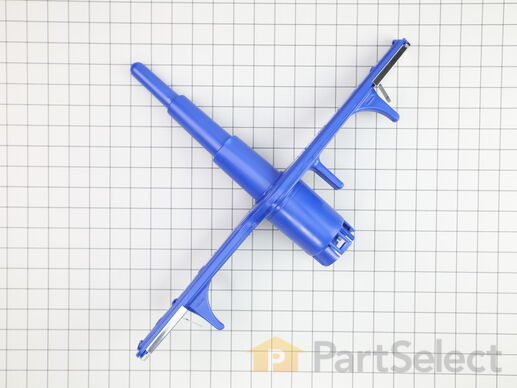
This lower spray arm assembly is a device in your dishwasher that distributes water and detergent during the washing cycle. Its rotating motion sprays water in multiple directions, ensuring thorough cleaning. Typically, it is attached to a support or hub at the bottom of the dishwasher. When this part is broken, there are noticeable signs to be aware of. You might hear knocking or banging sounds coming from the dishwasher. The spray arm may be wobbly or unable to rotate. If a broken arm assembly is not replaced, your dishes may still have dirt on them even after a wash cycle. Additionally, leftover food residue can result in an unpleasant smell within the dishwasher. To remove the existing arm assembly, simply grasp the center of it and lift it up so that it unsnaps from your dishwasher. Please note that this OEM-sourced part is sold individually.

$ 41.95
  In Stock
PartSelect Number PS12705424
Manufacturer Part Number 5304518927

Customer Repair Stories

Spray Arm melted to heating elment
Removed old arm from elment. then replaced with new one.
  • William from Pittsburgh, PA
  • Difficulty Level:
    Really Easy
  • Total Repair Time:
    Less than 15 mins
31 of 37 people found this instruction helpful.
Was this instruction helpful to you?
Thank you for voting!
Melted spray arm resulted in leaky dishwasher
Over Thanksgiving, the spray arm in my dishwasher apparently popped off and was partially melted. I remounted it inside the dishwasher, but the new hole was on the side of the arm. I think this resulted in water being sprayed directly against the door and not up through the top holes. It flooded my kitchen floor.

The spray arm pops on and off with plastic tabs (?) at the base. You can lightly pry with a butter knife or simply wiggle it off. The new one popped right on. Easiest repair EVER.
  • Allison from Greenville, SC
  • Difficulty Level:
    Really Easy
  • Total Repair Time:
    Less than 15 mins
103 of 111 people found this instruction helpful.
Was this instruction helpful to you?
Thank you for voting!
Fixes Symptom 1% of time

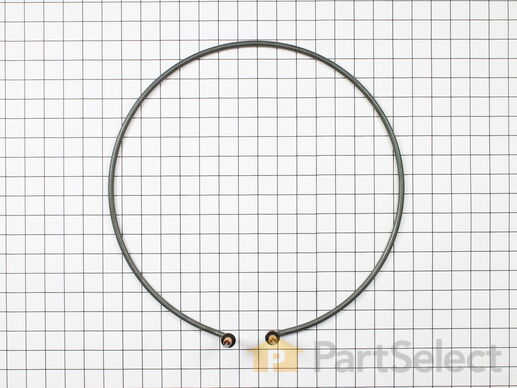
This dishwasher heating element is not designed to heat the water that enters it, but is designed to maintain the heat of the water that enters the dishwasher. It is located on the bottom of the dishwasher. NOTE: Brass nuts are NOT included. Must be ordered separately.

$ 72.22
  In Stock
PartSelect Number PS3653449
Manufacturer Part Number 154825001

Replacing your Frigidaire Dishwasher Heating Element

Replacing your Heating Element

Customer Repair Stories

Heating Element was corroded.
It took me about 30 minutes to do the repair - took my time and could’ve done it much faster.
  • Christopher from EVERETT, WA
  • Difficulty Level:
    Really Easy
  • Total Repair Time:
    30 - 60 mins
  • Tools:
    Nutdriver, Screw drivers, Wrench (Adjustable)
2 of 2 people found this instruction helpful.
Was this instruction helpful to you?
Thank you for voting!
Heating element went out
Removed the clamp holding it to the floor and
removed the c-clips holding element underneath
and put new one in. Hard part was figuring out
what was holding the element but since I still
had the schematic drawing we figured it out.
Saved a bunch on a repairman. After watching
my friend install the new element I could probably
do it myself next time.
  • Jane from Port Charlotte, FL
  • Difficulty Level:
    A Bit Difficult
  • Total Repair Time:
    30 - 60 mins
  • Tools:
    Screw drivers, Wrench (Adjustable)
16 of 25 people found this instruction helpful.
Was this instruction helpful to you?
Thank you for voting!
Fixes Symptom 1% of time

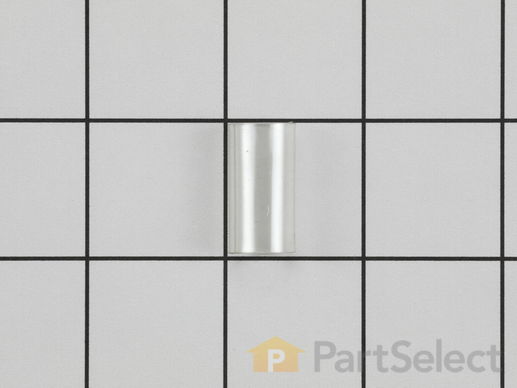
$ 5.95
  In Stock
PartSelect Number PS17996478
Manufacturer Part Number 5304538466
Fixes Symptom less than 1% of time

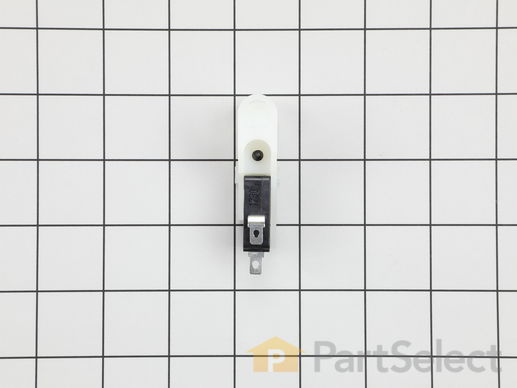
Water that fills your dishwasher lifts the float. When it reaches a certain level, the float triggers the float switch to shut off, thereby shutting off the flow of water into the dishwasher.

$ 54.40
  In Stock
PartSelect Number PS3492842
Manufacturer Part Number 154773201

Replacing your Frigidaire Dishwasher Float Switch

Replacing your Float Switch

Customer Repair Stories

machine was not filling
First, I unplugged the dishwasher. After removing the under counter mounting screws, I pulled the dishwasher out from the cabinets. Because the switch is hard to reach, I put the dishwasher on its side (very carefully). Make sure to drain the dishwasher first, or it will leak all over your kitchen. To remove the switch, I unscrewed the single black screw in the middle of the switch and unplugged the electrical wires. I put the new switch in its place, screwed in the screw, and plugged in the electrical connection. I set the dishwasher upright, and ran it through a cycle before reinstalling it into the cabinet. I had previously tried replacing the water inlet valve, but that was not the problem.
  • jon from northampton, MA
  • Difficulty Level:
    A Bit Difficult
  • Total Repair Time:
    15 - 30 mins
  • Tools:
    Pliers, Screw drivers
Was this instruction helpful to you?
Thank you for voting!
No water to dish washer
After figuring out the problem wasn't the water inlet switch, I replaced the switch assembly for the water level float. Cut off supply water to dishwasher, removed the 2 screws holding switch assembly, and installed new switch. 15 minutes, very easy job.
  • steve from virginia beach, VA
  • Difficulty Level:
    Really Easy
  • Total Repair Time:
    15 - 30 mins
  • Tools:
    Screw drivers
35 of 65 people found this instruction helpful.
Was this instruction helpful to you?
Thank you for voting!
13 FLOAT
Fixes Symptom less than 1% of time

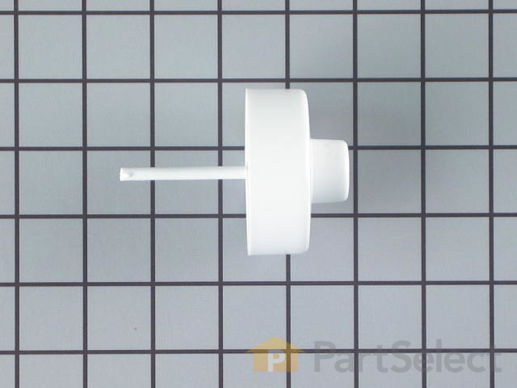
As water is filling your dishwasher, a float rises along with it. When the float reaches a predetermined level, it shuts off the flow of water, thereby preventing a leak.

$ 20.95
  In Stock
PartSelect Number PS11770486
Manufacturer Part Number 5304506520

Replacing your Frigidaire Dishwasher FLOAT

Replacing your FLOAT

Customer Repair Stories

was brocken
just replace
  • Aleksandr from West Palm Beach, FL
  • Difficulty Level:
    Really Easy
  • Total Repair Time:
    Less than 15 mins
  • Tools:
    Screw drivers
8 of 32 people found this instruction helpful.
Was this instruction helpful to you?
Thank you for voting!
Fixes Symptom less than 1% of time

$ 11.95
  In Stock
PartSelect Number PS17219471
Manufacturer Part Number 5304534830
Fixes Symptom less than 1% of time

Keep your dishwasher running optimally with our authentic Frigidaire Sump Gasket. This essential component forms a watertight seal between your dishwasher's tub and the pump assembly ensuring maximum efficiency. Designed to work seamlessly with select models of Frigidaire, Electrolux, White Westinghouse, and Tappan, this genuine replacement part is a vital element for the smooth running of your appliance. Prior to installation, ensure to disconnect your dishwasher from the electricity supply and shut off the water supply. It is recommended that you wear work gloves during installation for safety. Trust Frigidaire for durable and reliable solutions for your appliance repair needs.

$ 48.95
  In Stock
PartSelect Number PS420465
Manufacturer Part Number 154246801

Customer Repair Stories

Dishwasher leaks
First point of leakage was the door. Turns out that a gasket at the bottom of the door functions as a wave trap. As the bottom sprayer spins it sprays against the door and creates a small wave of water this gasket was starting to disintegrate, it was letting water surge over the small tray at the doors bottom. Easy to replace just pull down and remove press fit on inside door bottom. Only when this was replaced did I find the real leak but not until I guessed at the tub seal as the leak. Very hard to see where the water really comes from! Turns out it was not the tub seal but a clip that holds the heater element got smashed down from a dropped dish rack at some earlier time and this caused the heat to increase at the clip and eventually heat the clip to extent it melted the tub directly under it. JB Weld to the rescue and we have a waterproof tub again. Well almost! The tub gasket resisted my best efforts to seat correctly and thus required a new tub gasket, still hard to seat but after 2-3 attempts we have a winner. Total cost about 50 bucks vs. 6-700 for a new unit. Wife is happy!!
  • Gardner from Old Saybrook, CT
  • Difficulty Level:
    Difficult
  • Total Repair Time:
    More than 2 hours
  • Tools:
    Nutdriver, Screw drivers, Socket set
8 of 16 people found this instruction helpful.
Was this instruction helpful to you?
Thank you for voting!
Fixes Symptom less than 1% of time

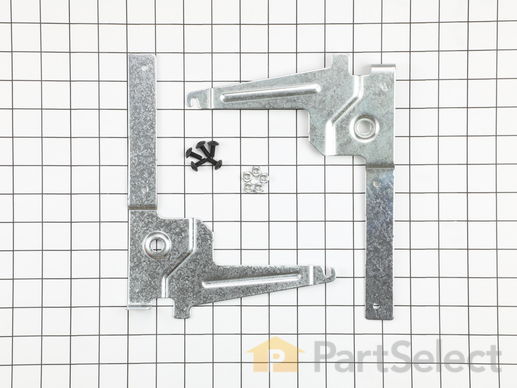
Make your dishwasher function smoothly with this genuine OEM Door Hinge Kit from Frigidaire. Designed to bolster both the right and left side of your dishwasher door, this all-inclusive kit promotes easy opening and safe closing. Positioned at the bottom of the appliance door, these hinge arms connect to the door hinge bracket on the dishwasher's frame. For optimum performance and safe handling, remember to unplug the dishwasher and shut off the water supply before installation. Equip yourself with working gloves to protect your hands during the process. Trust this product to increase the longevity and efficiency of your dishwasher.

$ 55.24
  In Stock
PartSelect Number PS12365372
Manufacturer Part Number 5304513274

Replacing your Frigidaire Dishwasher Door Hinge Kit

Replacing your Door Hinge Kit
17 SHIELD
Fixes Symptom less than 1% of time

  No Longer Available
PartSelect Number PS420568
Manufacturer Part Number 154289801
Fixes Symptom less than 1% of time

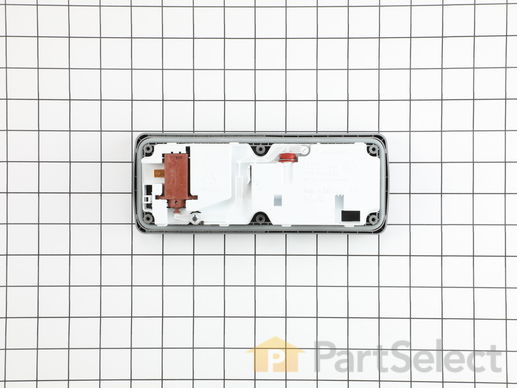
This is the replacement detergent dispenser for your refrigerator. It is gray in color and is sold individually. It is approximately 8.5 inches long and 3 inches wide. The detergent dispenser stores the detergent until it is ready to be dispensed. If your dishes are not coming clean, or you notice the detergent is still in the dispenser at the end of the cycle, you may have a damaged or malfunctioning detergent dispenser. This is an OEM part sourced directly from the manufacturer.

$ 63.65
  In Stock
PartSelect Number PS11770487
Manufacturer Part Number 5304506521

Replacing your Frigidaire Dishwasher Detergent Dispenser

Replacing your Detergent Dispenser

Customer Repair Stories

Leaked spot free fluid
Replaced part
  • Tim from MARINE ST CRX, MN
  • Difficulty Level:
    Really Easy
  • Total Repair Time:
    15 - 30 mins
  • Tools:
    Pliers, Screw drivers
2 of 3 people found this instruction helpful.
Was this instruction helpful to you?
Thank you for voting!
The soap dispenser didn’t dispense the soap
After shutting off power to the dishwasher, I removed the two screws holding the door cover on the inside of the door sides, about 8 inches from the bottom of the door. I slid the cover down and off, and unplugged the wires to the dispenser. Then I removed the six screws holding the dispenser in place, removed the old dispenser, installed the new one, replaced the six screws and plugged the wires back in. The door cover and the two screws was all that was left. It took about ten minutes. Easy.
  • Bernard from ACUSHNET, MA
  • Difficulty Level:
    Very Easy
  • Total Repair Time:
    Less than 15 mins
  • Tools:
    Screw drivers
4 of 4 people found this instruction helpful.
Was this instruction helpful to you?
Thank you for voting!
Fixes Symptom less than 1% of time

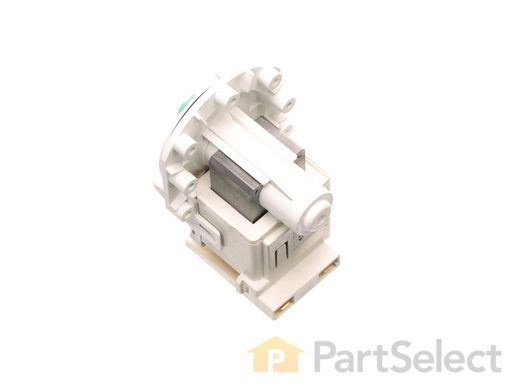
This is a drain pump assembly for various compatible models of dishwashers, that is responsible for draining the water from the dishwasher after every cycle. This drain pump assembly is made of plastic and fits within the sump assembly, which controls the flow of water into the drain. This drain pump assembly is a genuine OEM part and is made of a high-quality plastic but is sold as an individual component without any other parts, like its drain pump check ball which works within the pump to prevent water from backwashing into the pump, as well as the drain pump cover. If you notice your dishwasher is not draining or has a lot of water buildup at the bottom of the sump assembly, this filter may be damaged, clogged or broken, and in need of a replacement. To replace this pump assembly, you will only need a Philips-head screwdriver, but should start by removing your dishwasher racks. Then, pull up on the lower spray arm, and drain trap to remove them. Next, rotate the spray arm support and pull that up to remove it, at which point you can remove the base and filter for the drain pump. With those out, you can use your Philips-head screwdriver to disconnect and remove the cover and drain pump assembly. With the pump removed, you can inspect it or install the new drain pump assembly, with the same hardware as before. Then it is as simple as reassembling the rest of your dishwasher, ensuring each connection point is fastened tightly.

$ 95.01
  In Stock
PartSelect Number PS8689824
Manufacturer Part Number A00126401

Replacing your Frigidaire Dishwasher Drain Pump -120V 60Hz

Replacing your Drain Pump -120V 60Hz

Customer Repair Stories

Dishwasher made squealing noise during drain portion of cycle
Replaced drain pump. It helped some but still hear some squealing. I suspect the main pump might be worn as well. The drain pump did have some "looseness" to it compared to the new part.
  • Mark from NAPLES, FL
  • Difficulty Level:
    Really Easy
  • Total Repair Time:
    15 - 30 mins
  • Tools:
    Screw drivers
16 of 31 people found this instruction helpful.
Was this instruction helpful to you?
Thank you for voting!
Dishwasher stopped draining
Under sink: Disconnected drain hose to garbage disposal, shutoff water feed, unplugged power.
Under Dishwasher:
Removed water feed connection.
On top of Dishwasher:
Removed screws anchoring it to cabinet.
Pulled dishwasher out and flipped down so it’s resting on the front.
Removed drain hose on drain pump.
  • William from FRANKLIN, TN
  • Difficulty Level:
    Really Easy
  • Total Repair Time:
    30 - 60 mins
  • Tools:
    Screw drivers
11 of 11 people found this instruction helpful.
Was this instruction helpful to you?
Thank you for voting!