Parts That Fix General Electric Dishwasher GDF520PSJ0SS Not cleaning dishes properly
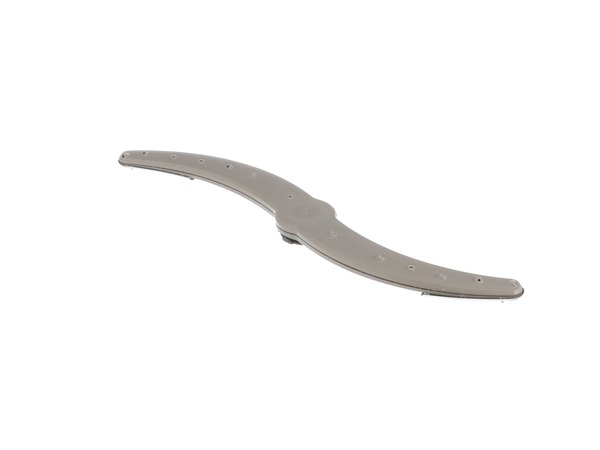
This lower spray arm assembly in your dishwasher distributes water and detergent during the washing cycle by spinning around and spraying water in different directions. You can usually find it attached to a support or hub at the bottom of the dishwasher. If this part is broken, you might notice some signs. You might hear a knocking or banging sound coming from the dishwasher. The spray arm may not rotate properly or might seem wobbly. It is important to replace a damaged arm assembly as your dishes will not get cleaned properly, and they will still have dirt on them even after a wash cycle. It can also cause the dishwasher to have a bad smell because of leftover food residue. To remove your existing arm assembly, you will need to release its locking mechanism before lifting it out of your appliance. Please be informed that this OEM-verified part that DOES NOT come with the heatshield, as per GE directly. This item is sold individually.
Customer Repair Stories
I appreciate the Parts Select company for enabling me to purchase a replacement part though that allows me to keep ... Read more my old dishwasher working.
-
Wendy from CHESAPEAKE, VA
-
Difficulty Level:Very Easy
-
Total Repair Time:Less than 15 mins
There is a ring on the part that tightens clockwise to the nipple that sprays out the water that it rests on. Twist clockwise and you are done!
It is a mystery how it was unattached to begin with but not a problem in the end, it was easy to fix!
Thanks for sending genuine GE part ... Read more s!
-
Mark De from BRONX, NY
-
Difficulty Level:Very Easy
-
Total Repair Time:Less than 15 mins
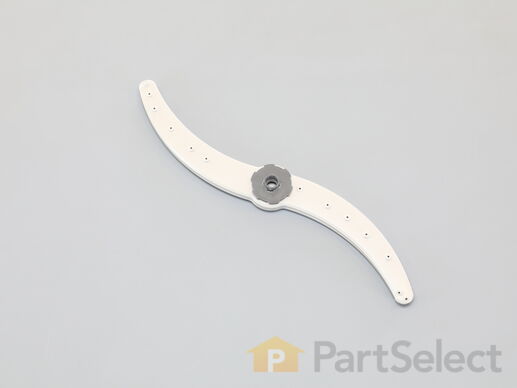
This OEM mid spray or center wash arm assembly distributes water and detergent in your dishwasher during the wash cycle. It has small nozzles that spray water onto your dishes and is located between the lower and upper rack. A broken assembly will result in weak water flow and ineffective dishwashing. It may also display signs of damage such as cracks, breaks, or missing nozzles. Additionally, a malfunctioning assembly can cause imbalanced water flow, potentially leading to damage to other dishwasher components such as filters or pumps. Prompt replacement is necessary to ensure proper dishwashing performance and prevent further damage. To install this to your appliance, you will need to snap its mounting bracket onto the rack before attaching the arms onto it. This replacement part is sold individually.
Customer Repair Stories
-
Robert from FLUSHING, MI
-
Difficulty Level:Really Easy
-
Total Repair Time:Less than 15 mins
-
Tools:Screw drivers
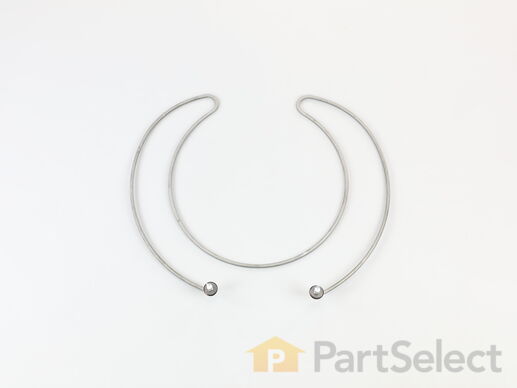
The element heating assembly is found at the bottom of the dishwasher tub, and helps to warm the water in the wash cycle, and dry the dishes afterward. If the water does not heat up during the wash cycle, or the dishes are not being dried properly, you may need to replace the element heating assembly in your dishwasher. This element heating assembly is horseshoe-shaped and is sold individually. To replace your heating assembly, first make sure it has cooled down, then simply slide the connecting tabs out. Replace with a new heating element and your problem should be solved.
Customer Repair Stories
-
Daniel from JACKSONVILLE, AL
-
Difficulty Level:Really Easy
-
Total Repair Time:15 - 30 mins
-
Tools:Screw drivers, Wrench (Adjustable)
-
David from SHAWNEE, KS
-
Difficulty Level:Easy
-
Total Repair Time:30 - 60 mins
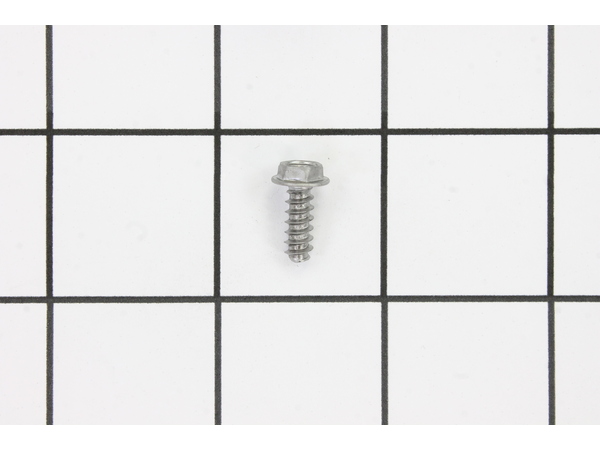
This OEM-compatible screw is designed for use with many GE dishwashers. Measuring 8-16 HXW and 1/2" in length, this stainless steel screw secures the middle spray arm hub to the upper rack assembly, ensuring stable and effective spray arm performance. Sold individually, this durable metal fastener requires a nutdriver for proper installation.
This is a flood switch assembly for your washer. The flood switch controls the hot and cold water filling your washer tub to ensure the proper amount of water. You may need to replace this part if your washer is overfilling or underfilling with water. It is about 5.5 inches in length, and mostly black in color with a green tip.
Replacing your General Electric Dishwasher Dishwasher Flood Switch

Customer Repair Stories
-
Cheyne from RIVERSIDE, CA
-
Difficulty Level:Really Easy
-
Total Repair Time:Less than 15 mins
-
Tools:Nutdriver
-
Jeff from AUBURNDALE, MA
-
Difficulty Level:Easy
-
Total Repair Time:30 - 60 mins
-
Tools:Nutdriver, Screw drivers
Discover the perfect solution for your dishwasher appliances with GE's Conduit Mid Assembly. Often referred to as the spray arm manifold, this essential piece securely holds the spray arm, linking it to the water feed tube. This precise design aids in delivering superior performance every time your dishwasher is put to use. For safe installation, always wear work gloves to provide protection for your hands. Choose the reliability and high-quality construction of GE's Conduit Mid Assembly for a seamless, stress-free appliance repair journey.
Replacing your General Electric Dishwasher Dishwasher Conduit Mid Assembly

Customer Repair Stories
-
Melissa from BELLPORT, NY
-
Difficulty Level:Very Easy
-
Total Repair Time:Less than 15 mins
-
Cris from BAYFIELD, CO
-
Difficulty Level:Really Easy
-
Total Repair Time:15 - 30 mins
This ultra-fine filter kit is compatible with various models of dishwasher and is a genuine part straight from the manufacturer. It is responsible for catching small food particles, debris, and other items that are washed off dishes during the cleaning process. The filter stops these particles from clogging the drain hose and other internal components thereby preventing damage to the dishwasher, maintaining a clear flow of water, and reducing unpleasant odors. The filter also prevents the debris from recirculating onto the clean dishes. You can find the dishwasher filter at the bottom of the dishwasher tub. It is recommended to clean the filter thoroughly every 3 to 6 months.
Customer Repair Stories
-
Mike from WADSWORTH, OH
-
Difficulty Level:Very Easy
-
Total Repair Time:Less than 15 mins
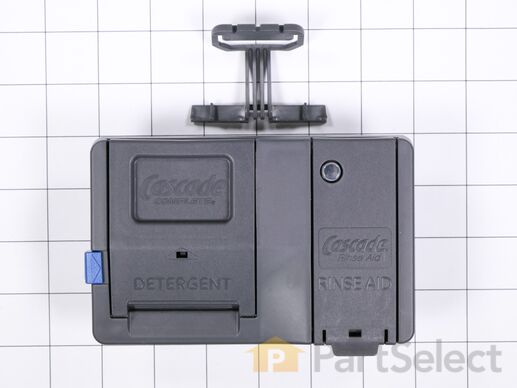
The detergent dispenser in your dishwasher stores the detergent until it is ready to be dispensed. If your dishes are not coming clean, or you notice the detergent is still in the dispenser at the end of the cycle, you may have a damaged or malfunctioning detergent dispenser. This detergent dispenser is not sold with a sensor. It is gray in color and is sold individually. This is an OEM part sourced directly from the manufacturer.
Customer Repair Stories
-1/4” nut driver to take off kickplate.
-Unplug wires harness to door
-Dismount dishwasher from cabinets and pull out 4-6 inches
-uncouple spring pulley from door hinges.
-Open dishwasher door about 4 inches and pull out and up to remove
-Lay door down and remove 4 -T20 star bolts and two 1/4 ... Read more ” bolts from door hinges(the door hinge has four bolts, but only remove one from each hinge that connects to the inner plastic door)
-remove vent cap and push up on interior plastic door casing to separate outer and inner door.
-Unbolt the soap dispenser module via 1/4” bolts and replace with new module. (be sure to line up module and gasket properly, installing 1/4inch bolts crossways, slowly tightening each bolt for a perfect seal).
-Reassemble the inner/outer doors and reattach to dishwasher in reverse order.
Be sure to plug the doors electric harness and kickplate.
-Plug the dishwasher back in and run it through a test.
I recently replaced the user interface, which took about 30 minutes. A week later replaced the soap dispenser module, which took 20 minutes. Disassembling the door was easier the second round.
I would read this project very easy for somebody with technical skills and easy with no prior skills
-
Jason from TULARE, CA
-
Difficulty Level:Very Easy
-
Total Repair Time:15 - 30 mins
-
Tools:Nutdriver
-
Dennis from LAS VEGAS, NV
-
Difficulty Level:Easy
-
Total Repair Time:15 - 30 mins
-
Tools:Nutdriver, Screw drivers
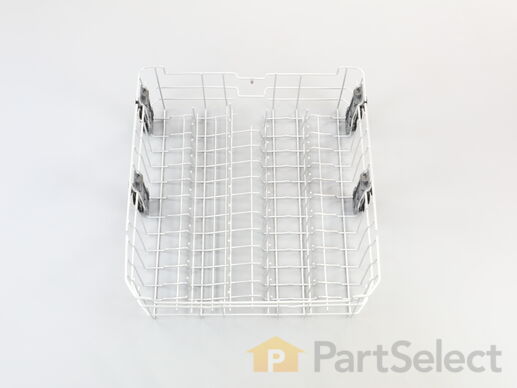
This dishrack is for dishwashers. The dishrack holds the dishes in place during the dishwashing cycle. Follow the instructions in the manual when installing this part.
Replacing your General Electric Dishwasher Upper Rack Assembly

Customer Repair Stories
-
James from OMAHA, NE
-
Difficulty Level:Really Easy
-
Total Repair Time:30 - 60 mins
-
Tools:Screw drivers
2. Remove rail channel end caps and place them on the tabletop on the correct side to make sure you put them back on the correct side.
3. Remove old rack.
4. Carefully snap off the water sprinkling unit. (carefully push down tabs so they don't break).
5 ... Read more . Using your picture as a reference (!) snap the water sprinkling unit on the new rack (it's easy).
6. Put the new rack back onto the rail channel and replace the end caps.
Done! Very easy installation ! Rack was not nearly as expensive as I anticipated and was delivered quickly. Note: You get the rack only. All ot the other parts are from the old unit.
-
Andrew from WINONA, MN
-
Difficulty Level:Really Easy
-
Total Repair Time:15 - 30 mins
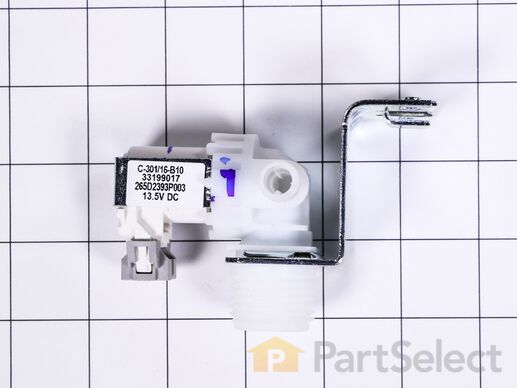
This is a washer inlet valve assembly for your dishwasher. This valve allows water to flow into your dishwasher at the proper rate. If your dishwasher tub is not filling with water or filling when the appliance is not in use, you may need to replace the inlet valve. It measures approximately 3 inches by 4 inches and is made of metal and white plastic.
Customer Repair Stories
Shut off water supply.
Remove the kick panel.
Unscrewed dishwasher from under cabinet and side screws. lower feet to reduce tension.
As you slide the dishwasher out, be sure all lines (Drain, water supply, electric are free to move with dishwasher.
I was able to hold the dishwasher at an angle to ... Read more easily get to the valve. After removing the the valve, i screwed the new valve back into place. I removed the Line between the valve and Dishwasher. Putting the line on the new valve. I removed the water supply line from the old valve and installed it on the new valve.
Placed the dishwater back in place and screed it back in. I ran the cycles. everything works!
I replace the kickpaner a couple of hours later. Check to make sure there were now leaks.
-
Mark from FAIRFAX, VA
-
Difficulty Level:Easy
-
Total Repair Time:15 - 30 mins
-
Tools:Nutdriver, Pliers, Screw drivers
-
Jeffrey from BENNINGTON, VT
-
Difficulty Level:Very Easy
-
Total Repair Time:Less than 15 mins
-
Tools:Screw drivers
This dish rack is for dishwashers. Dish rack holds the dishes in place during the dish washing cycle
Customer Repair Stories
-
Laura from SAN ANTONIO, TX
-
Difficulty Level:Very Easy
-
Total Repair Time:Less than 15 mins
-
Nick from ELK GROVE, CA
-
Difficulty Level:Really Easy
-
Total Repair Time:Less than 15 mins


