Parts That Fix General Electric Washer GTW840CSN0WS Leaking
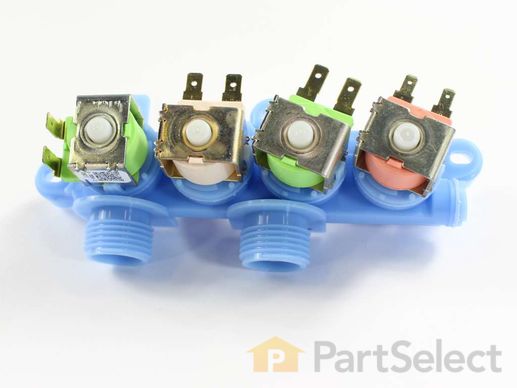
This is an inlet valve for models of compatible washing machines. Inlet valves are electrically controlled solenoid valves that open and close as needed during the washing cycle, to allow water into the washer. If the inlet valve has failed in your washer, you will likely see an error code or your washer simply will not start due to its failure, and it may even begin to leak water into your washer tub, and will need to be replaced immediately. This part features two valves, each with their own respective wire terminals. When replacing this inlet valve, needle-nose pliers, a socket wrench, and screwdriver will be needed, as well as some disassembly of your washing machine. This inlet valve is an OEM part that does not come sold with any other parts or accessories.
Customer Repair Stories
-
Ricky from GERMANTOWN, OH
-
Difficulty Level:Very Easy
-
Total Repair Time:Less than 15 mins
-
Tools:Nutdriver, Screw drivers
-
Richard Bibb from ARLINGTON, TX
-
Difficulty Level:Very Easy
-
Total Repair Time:30 - 60 mins
-
Tools:Nutdriver, Pliers
This drain pump assembly is for washers. Drain pump assembly removes water from the washer during the drain portion of the cycle. The assembly may include multiple parts; refer to your parts diagram for a complete list of parts included.
Customer Repair Stories
-
Micheal from South Bend, IN
-
Difficulty Level:Very Easy
-
Total Repair Time:Less than 15 mins
-
Tools:Socket set
Remove rear drain hose and drained rest of water into a bucket
Remove small rear panel (bottom left hand corner) where the drain hose connects
Tipped washer up about 45 degrees to get underneath it - Supported it with a few paint cans
Remove internal drain hose/clamps ... Read more from pump - w/ pliers
Remove belt cover (gray plastic) with socket - 3 bolts
Remove wire assembly plug from socket
Remove old drain pump with socket - 3 bolts
Install new drain pump - 3 bolts - plug wire assembly into socket
Reinstall belt cover - 3 bolts
Reinstall hose to drain pump (note panel will be inside washer)
Feed drain hose panel through hole and reinstall - 1 nut
Re attached drain hose to exterior drain plug
You are done !
-
Mike from NAPLES, FL
-
Difficulty Level:Really Easy
-
Total Repair Time:30 - 60 mins
-
Tools:Nutdriver, Pliers, Screw drivers, Socket set
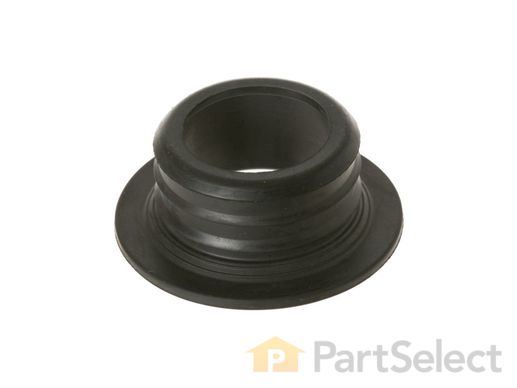
This GE DRAIN PUMP SEAL is an essential component for your washer, ensuring a leak-free connection between the drain hose and the washer drain pump. For the assurance of a dry, well-functioning laundry setup, this reliable seal is a must-have repair item. Prior to installation, remember to disconnect power from your washer for safety. It's recommended that you wear working gloves during the installation process to guard your hands. Trust the dependable quality of GE to keep your appliance performing at its best.
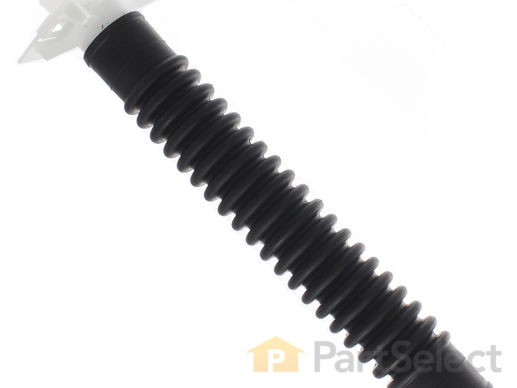
Introducing the Internal Drain Hose Assembly, a key component in your GE washer! This durable hose is responsible for directing drain water from the pump to the external drain hose ensuring a smooth machine operation. Before installing this part to your washer, remember to unplug the appliance and shut off your water supply to protect both you and the machine. It is recommended to wear work gloves during installation to safeguard your hands. Keep your GE Washer working at peak efficiency with this vital Internal Drain Hose Assembly.
This part helps prevent the backflow of water from the tub to main water line.
Replacing your General Electric Washer Washer Antisiphon Clip

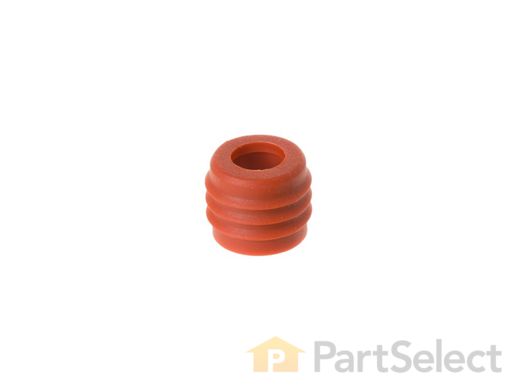
Secure the efficient workability of your GE washer with this water valve seal. Designed meticulously, this key component prevents leaking between the water inlet valve and the inlet chamber and helps your machine function smoothly. Before starting its installation process, ensure the washer is unplugged and shut off the water supply. Extreme caution must be exercised during its installation process. Keep your homes spotlessly clean and your washer exceptionally operational with the efficient GE water valve seal. Perfect your daily chores, using dependable products from trusted brands like GE.


