Parts That Fix General Electric Washer GTWN7450H1WW Leaking
Customer Repair Stories
- Remove Control Panel Cover (rear)
- Disconnect as many wire harness plugs as possible from Control Board (Note positions for reassembly - pictures work well)
- Remove Pressure Switch
- Disconnect Detergent and Softener dispense hoses from Machine Top
- Rotate top 180 degrees (Flat-Spin) and position so no strain is on the still connected wires.
- Remove Tub Cover
- Remove Impeller (Agitator) from inside tub.
- Remove Tub Nut - Note Left handed Threads (I used 1/2" Drive Impact)
- Remove rear Cross Bar from cabinet (Cross Bar must be removed since tub will not fit through opening. Once removed it must be held in place or outer tub will fall)
- Remove Inner Tub - This tub is heavy and fluid-balanced. Mine required 2 people to wobble and pull for removal.
- Replace Cross bar to keep unit stable
- Lay machine on its side - use care not stretch or pull any wires.
- Remove motor, (Rotor and Stator)
- Remove Clutch and wires
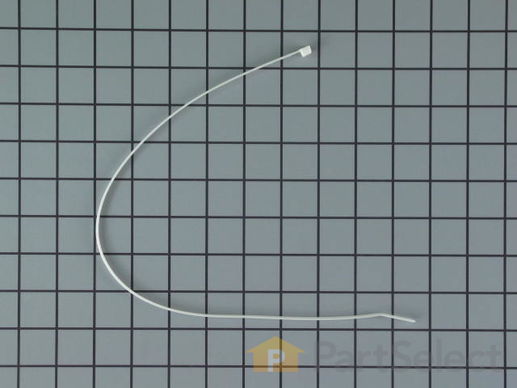
- Loosen all wire ties (Use tiny screwdriver to release ties - Do Not remove the tie mount) securing wires to Bearing Plate and push wires to the outside edge of bearing Plate
- Remove all screws securing Bearing Plate to Outer Tub
- Use flat-head Screwdriver to gently pry Bearing Plate away from outer tub (Quite Heavy - Use Care)
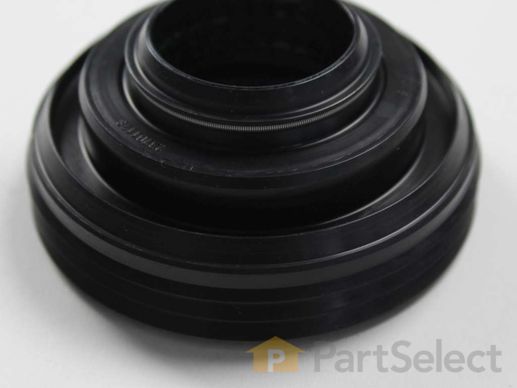
- Tub Seal is now exposed on top of Bearing Plate and can now be removed and replaced (Be sure to clean all seal mating surfaces and lubricate with dish soap)
- Reverse this sequence in the exact order for re-assembly taking care to reconnect all wiring plugs and ground wires.
- During Re-assembly I used Blue Loctite on all bolts securing the Clutch, Stator, and Rotor as I found several very loose on my machine
-
Greg from SPRING CITY, TN
-
Difficulty Level:Very Difficult
-
Total Repair Time:More than 2 hours
-
Tools:Nutdriver, Screw drivers, Socket set
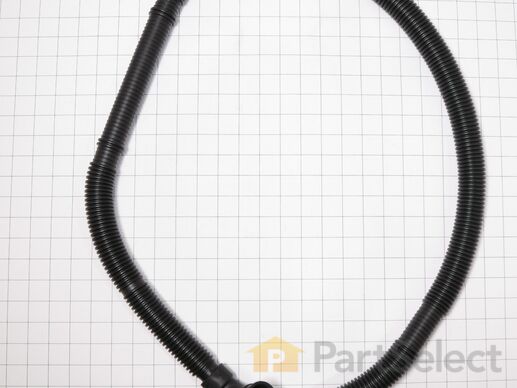
Introducing the GE Drain Hose, specifically designed for washing machines. This essential accessory safely transports used water from your washer directly to your house drain, establishing an efficient and reliable disposal system. Easy to install, it's recommended to shut off the water supply and disconnect the power from your washer prior to assembly to ensure your safety. For added protection, consider wearing work gloves during installment. Trust in the brand you know, GE, for a durable, high quality Drain Hose designed for long-term use.
This is the replacement water inlet valve for your washer. It is made of mainly white plastic, with an inlet for hot and cold water, and it has three solenoids. The water inlet valve in your washer connects to the water source and solenoid wires, and ensures the tub has the right amount of water entering it. If your washing machine continues to fill after it is full, or if it fills slowly, you may need to replace this valve. Before you begin this repair, be sure to disconnect the water and power sources from your washer. This part is sold individually and is an authentic OEM part.


