Back
Back
Keep typing for more specific results...
Models > LFSS2312TF2 > Symptoms > Leaking

Parts That Fix Frigidaire Refrigerator LFSS2312TF2 Leaking

Leaking is a commonly reported symptom for the LFSS2312TF2 Frigidaire Refrigerator, and we have put together a full guide on how to fix this. This advice is based on feedback from people who own this exact appliance. We have listed the most common parts for your LFSS2312TF2 Frigidaire Refrigerator that will fix Leaking. We have included repair instructions, and helpful step-by-step video tutorials. If you are experiencing this issue, not to worry, DIYers just like you have fixed this, and shared their experience to help you!
Fixes Symptom 88% of time

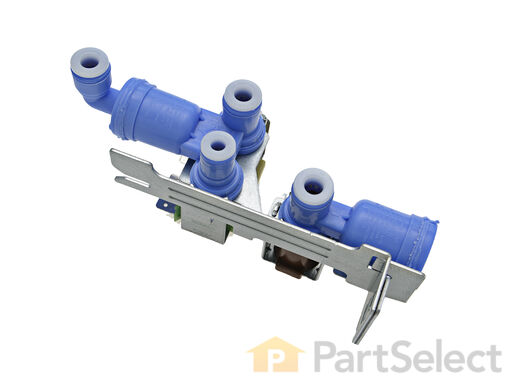
The function of the Refrigerator Water Inlet Valve (Triple Solenoid Water-Valve, Water Valve, Water Inlet Valve, Refrigerator Water Inlet Valve Assembly) is to release water from the supply line when activated, and send it through to your water dispenser or ice maker in your refrigerator. The water inlet valve is located at the back of the refrigerator, and connects to the water supply. The valve can break from material fatigue or normal use. If your water inlet valve is malfunctioning, you could be getting a lack of water to the inside of your refrigerator. Your ice maker may not produce cubes or your water dispenser may not work. The water inlet valve must be replaced if the solenoids no longer have continuity or the valve has internal blockage. This valve measures approximately 7 inches long and 4.5 inches wide, and is constructed of plastic and metal. It comes in blue, and includes the valve and mounting bracket.

$ 32.99
  In Stock
PartSelect Number PS7784018
Manufacturer Part Number 242252702

Replacing your Frigidaire Refrigerator Refrigerator Water Inlet Valve

Replacing your Refrigerator Water Inlet Valve

Customer Repair Stories

icemaker stopped making ice
Even though my wife said that our icemaker broke, there was actually nothing wrong with it. It was the valve that let water flow in during the 'harvest' cycle.
A real easy way to test the icemaker without voltage and current measurements, is to fill the tray by hand with a little cup of water; wait till the water freezes and see if the maker dumped the ice into the bin.
  • David from New Bern, NC
  • Difficulty Level:
    Really Easy
  • Total Repair Time:
    15 - 30 mins
  • Tools:
    Nutdriver, Screw drivers
350 of 417 people found this instruction helpful.
Was this instruction helpful to you?
Thank you for voting!
water leaking out of refrigerator
In my specific appliance the water valve is located in the bottom right hand corner looking at it from the back. To get to it I remove the thin layer of cardboard the covers the back of the fridge. I then proceeded to disconnect the 1/4" copper tubing which is the water feed coming out of the wall. Then I removed the screws that hold the valve assembly in place. I took the water valve out and removed the electrical connections as well as the plastic tubing which feed the water dispenser and the ice maker. To install the new water valve it was just a matter of reversing steps.
  • Jose from Alexandria, VA
  • Difficulty Level:
    Easy
  • Total Repair Time:
    15 - 30 mins
  • Tools:
    Nutdriver, Pliers, Wrench (Adjustable)
598 of 708 people found this instruction helpful.
Was this instruction helpful to you?
Thank you for voting!
Fixes Symptom 3% of time

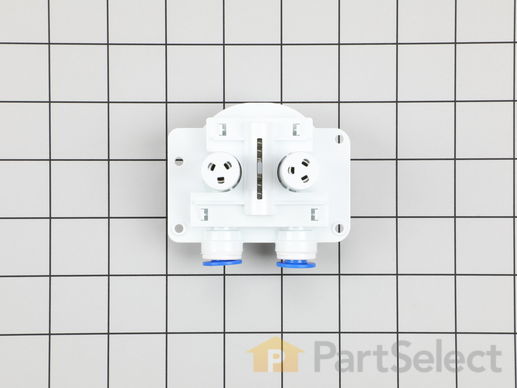
This is the replacement water filter base for your refrigerator. It is approximately 3-1/2 inches by 3 inches. It is made of white plastic with two blue water filter receptacles. The water filter base connects to your refrigerator and is the part that your two-headed water filter fits into. The main reason you would want to replace it is if you notice a leak when you connect the water filter, or if it is noticeably cracked or damaged. This part is sold individually and is a genuine OEM part.

$ 54.83
  In Stock
PartSelect Number PS12364175
Manufacturer Part Number 242009602

Customer Repair Stories

New off brand water filter could not be removed from the water filter base
Removed the water lines from the old base. Installed new base and reconnected water lines. Installed new filter.Turned on the water line behind the refrigerator. Opened Refrigerator door to watch for leaks. No Leakes. The new filter base was
  • James from ELK GROVE, CA
  • Difficulty Level:
    Really Easy
  • Total Repair Time:
    30 - 60 mins
  • Tools:
    Screw drivers, Socket set
2 of 2 people found this instruction helpful.
Was this instruction helpful to you?
Thank you for voting!
Water filter would not disconnect from OEM Water Filter Base
Disconnect the two water supply tubes at the base of the Water Filter Base. Using a 7/16" open end wrench, press up on the blue "O" rings to disconnect the tubes. Use a Using an 8" long magnetic phillips head screw driver I was able to unscrew the 4 short screws holding the original water filter base and the immovable attached water filter. Replacement was easy. Simply slide the new base into the fixed slot on the refrigerator and reinstall the 4 holding screws. Reconnect the water supply tubes to the Water Filter Base. Install a new water filter.
  • Richard from SEATTLE, WA
  • Difficulty Level:
    Really Easy
  • Total Repair Time:
    Less than 15 mins
  • Tools:
    Screw drivers
3 of 3 people found this instruction helpful.
Was this instruction helpful to you?
Thank you for voting!
Fixes Symptom 2% of time

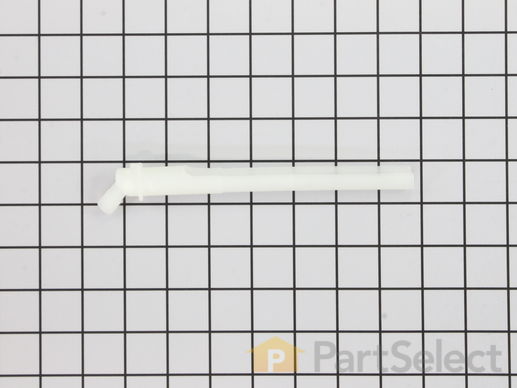
This is a water fill tube which is used in refrigerators. It attaches to the water inlet valve and supplies water to the components in your appliance that need it, such as the icemaker and water dispenser. You will need to replace your fill tube if you notice it is leaking or damaged. This replacement tube is approximately 7 inches in length, and it is made entirely of plastic. The fill tube is sold individually. Before you begin repairing your refrigerator, make sure the water supply has been turned off and that the appliance has been unplugged.

$ 26.95
  In Stock
PartSelect Number PS7783975
Manufacturer Part Number 241796405

Customer Repair Stories

Water Tube That Fills Ice Maker Leaking Water
Undone the water line that comes up the back of the refrigerator and pulled the water tube out the back of the refrigerator and reinstalled the new one and reinstalled the water line. Done
  • PAT from BATON ROUGE, LA
  • Difficulty Level:
    Easy
  • Total Repair Time:
    15 - 30 mins
Was this instruction helpful to you?
Thank you for voting!
Ice Maker not getting any water
1). Shut off water supply to fridge. 2). Move fridge out to gain access to back of fridge. 3). Remove poly line to water tube have a glass handy to catch any remaining water that might be in line. Some may have a foam insulating washer around water tube remove it first. 4). My Sears-Kenmore was a twist lock water tube have to turn it to left or right depending on brand to remove tube. 5). After removing make sure tube didn't just have water frozen in tube ( that was my problem ) run it under hot water frozen piece will come out. 5). Problem fixed, reverse directions to re-install tube!
  • Lawrence from Stow, OH
  • Difficulty Level:
    Easy
  • Total Repair Time:
    15 - 30 mins
  • Tools:
    Pliers
Was this instruction helpful to you?
Thank you for voting!
Fixes Symptom 1% of time

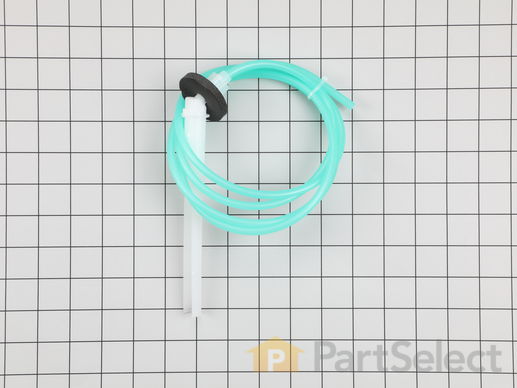
This supplies water to the icemaker and dispenser.

$ 39.95
  In Stock
PartSelect Number PS6448034
Manufacturer Part Number 241850615

Customer Repair Stories

Not making ice
Took out old replaced with new. Now it makes ice
  • Sam from Ravenswood, WV
  • Difficulty Level:
    Really Easy
  • Total Repair Time:
    30 - 60 mins
  • Tools:
    Screw drivers, Wrench set
2 of 2 people found this instruction helpful.
Was this instruction helpful to you?
Thank you for voting!
Fixes Symptom 1% of time

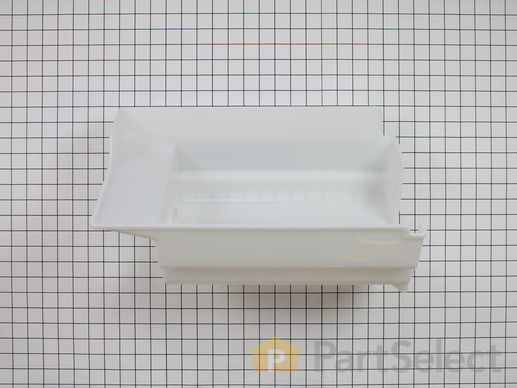
This genuine OEM ice container, also known as an ice bucket, is designed for use in refrigerators to store ice cubes. It should be replaced if it develops significant cracks or breaks that could affect performance. To remove the container, open the freezer door and lift it out, ensuring the ice maker’s shut-off arm is in the off position. Transfer the front panel, access door, shield, crusher assembly, and auger assembly from the old container to the new one—without disassembling the crusher and auger assembly, if possible, to simplify the process. When aligning the control rod, make sure one set of crimps sits in front of the crusher assembly plate and the other behind it. To secure the other end, hook the spring around the tab at the bottom of the container and tuck the bracket behind the tab. Engage the rod’s hook by rotating it into the flapper door. Reinstall the front panel and access door by aligning the holes and fastening them in place. Finally, snap the guard back onto the side rails of the bin, ensuring the ridged edge faces forward. Please note that this replacement part includes only the ice bucket; additional components must be purchased separately.

$ 71.49
  In Stock
PartSelect Number PS1526586
Manufacturer Part Number 241734001

Replacing your Frigidaire Refrigerator Ice Container/Bucket

Replacing your Ice Container/Bucket

Customer Repair Stories

A 2" x 4" section on the bottom of the ice container bucket broke out.
Simply detached the old ice container by removing four screws and removing one screw holding the lever onto the bottom of the container. A bit of advice; make sure you note how the spring is attached to the lever before removing the screw. It took me a bit to determine how the spring activated the lever when I was reattaching it to the bottom of the container. Also, double check your order before you finalize it. I must have inadvertently hit the item twice so I received two of them. This resulted in me having to return one item and paying for extra shipping both ways. I received the part within two days of my order. It was a very fast turn-around. Also, when I realized that I received two parts and had to call to explain the situation, I found the person on the phone to be extremely helpful and courteous. She sent me information regarding how to return the product and didn't ridicule me once for my stupidity.
  • David from Owensboro, KY
  • Difficulty Level:
    Easy
  • Total Repair Time:
    15 - 30 mins
  • Tools:
    Screw drivers
5 of 7 people found this instruction helpful.
Was this instruction helpful to you?
Thank you for voting!
There was a hole in the plastic bin where ice fell through to the freezer.
I removed the screws that held the the ice dispencer from the bin. I than removed three screws from the bottom of the bin. I put the new plastic piece on the end of the spiral piece that
pushes the ice. I inserted the spiral piece back into the hole. I than screwed the ice dispencer
to the bin and re-inserted it back in the refrigerator.
It took me about 5 to 10 minutes. It's really easy!
  • Thomas from Niceville, FL
  • Difficulty Level:
    Really Easy
  • Total Repair Time:
    Less than 15 mins
  • Tools:
    Screw drivers
9 of 9 people found this instruction helpful.
Was this instruction helpful to you?
Thank you for voting!
Fixes Symptom 1% of time

$ 56.38
  In Stock
PartSelect Number PS1765304
Manufacturer Part Number 241806601
Fixes Symptom 1% of time

Introducing the Frigidaire Water Inlet Tube, a genuine OEM component designed to enhance your appliance's performance. This part is in a versatile brown/tan color, precisely tailored to be around 97.5 inches long and approximately 5/16". This essential water tubing supplements water to vital components of your refrigerator, such as the water dispenser and ice maker. Before installing, ensure to unplug the refrigerator, shut off the water supply, and safely store food that could spoil without power. Please make sure to wear work gloves during the installation process to guard your hands. The unique design and quality of this water inlet tube reflect the renowned excellence of Frigidaire products.

$ 45.95
  In Stock
PartSelect Number PS10057231
Manufacturer Part Number 242220206
Fixes Symptom 1% of time

$ 49.95
  In Stock
PartSelect Number PS10062820
Manufacturer Part Number 242220208
Fixes Symptom 1% of time

$ 28.95
  In Stock
PartSelect Number PS11703640
Manufacturer Part Number 241830905
Fixes Symptom 1% of time

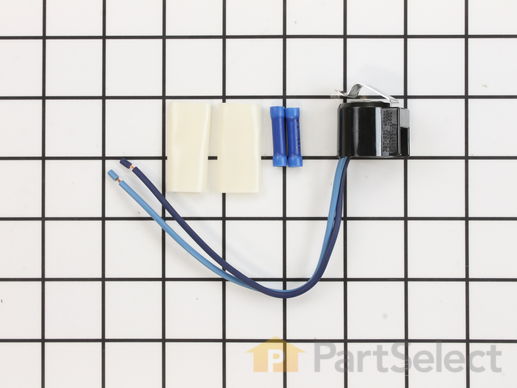
If you find that there is excessive frost in your freezer, or the freezer will not defrost, you may need to replace the defrost thermostat. The defrost thermostat kit comes with the clip, leads, and heat shrink. To access the defrost thermostat for this repair, you will need to remove your freezer shelves, as well as the back panel of your freezer. To complete this repair, you will need a 1/4-inch nut driver, a set of wire strippers and crimpers, and a heat gun or blow dryer. Before you begin this repair, be sure to disconnect the power source from the appliance.

$ 35.95
  In Stock
PartSelect Number PS469522
Manufacturer Part Number 5303918214

Replacing your Frigidaire Refrigerator Defrost Thermostat Kit

Replacing your Defrost Thermostat Kit

Customer Repair Stories

Refrigerator would sometimes freeze everything
we researched the internet with our symptoms and most sites said it was the thermostat. At $800+ for a new refrigerater, we decided to order the thermostat. Found schematics on the net, the thermostat was located in teh freezer compartment . Unplugged, removed food from freezer, removed the bottom shelf in freezer, and the back panel It was EASY to find. Cut 2 wires, replaced with new thermostat. DONE! The new thermostat came with new connecters.
  • donna from brandon, FL
  • Difficulty Level:
    Really Easy
  • Total Repair Time:
    15 - 30 mins
  • Tools:
    Screw drivers
86 of 97 people found this instruction helpful.
Was this instruction helpful to you?
Thank you for voting!
Running but not cooling off and frost in the back of the freezer
Unplugged the refrigerator. Removed the 4 hex head screws on the lower back panel at the back of the freezer. Used a blow dryer to defrost the pipes and area surrounding the thermostat. Unplug the connection from the back of the freezer, unplug the 2 wires, one that goes to the heater, one that comes from power. Unclip the thermostat from the pipe and note which pipe you unclipped it from. Cut the wires on the old thermostat midway between the plugs and the sensor. Using the supplied butt connectors, strip the wire ends on color matched wires (should be a dark blue or black) and crimp them together. Repeat with the other wire. Discard the white shrink wrapping. I wasn't able to get it small enough with a hair dryer or lighter. Plug the thermostat back into it's respective plugs. Clip the thermostat back onto the pipe you removed it from. Replace the back panel with the four screws. Ensure the bottom of the panel is set inside of the drip tray. Replace any shelving you removed. Plug the refrigerator back into the wall. Your done!
  • Leo from Bentonville, AR
  • Difficulty Level:
    Easy
  • Total Repair Time:
    15 - 30 mins
  • Tools:
    Nutdriver, Pliers
271 of 323 people found this instruction helpful.
Was this instruction helpful to you?
Thank you for voting!