Your coupon for will be reflected when you check out!
✖
Your coupon for
✖
Hello!
You're visiting the PartSelect site in U.S.
Would you like to shop on the Canadian site?
Stay on this site
Go to Canadian site
✖
Model Number Locations
1Select Category Type
Select Category Type
2Select Product Type
Select Product Type
3Select {MODEL} Type
Select {MODEL} Type
Sample Model Number Tags
Model numbers can be made up of numbers (1005400, for example) or a combination of letters and numbers (LAT1000AAE). The model number will most likely appear on either a paper sticker or a metal plate. Your appliance's model number tag may look similar to the sample model number tags shown here (model number highlighted in yellow):
Model has been saved to My Models. If you're not signed in, your lists are available on this device and will expire within 30 days.
Model has been saved to My Models.
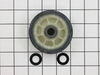
The drum support roller (Dryer Drum Support Roller, Drum Roller and Washer Assembly) holds the drum in the proper position while it spins on the support wheels. This part rotates on the roller shaft w...
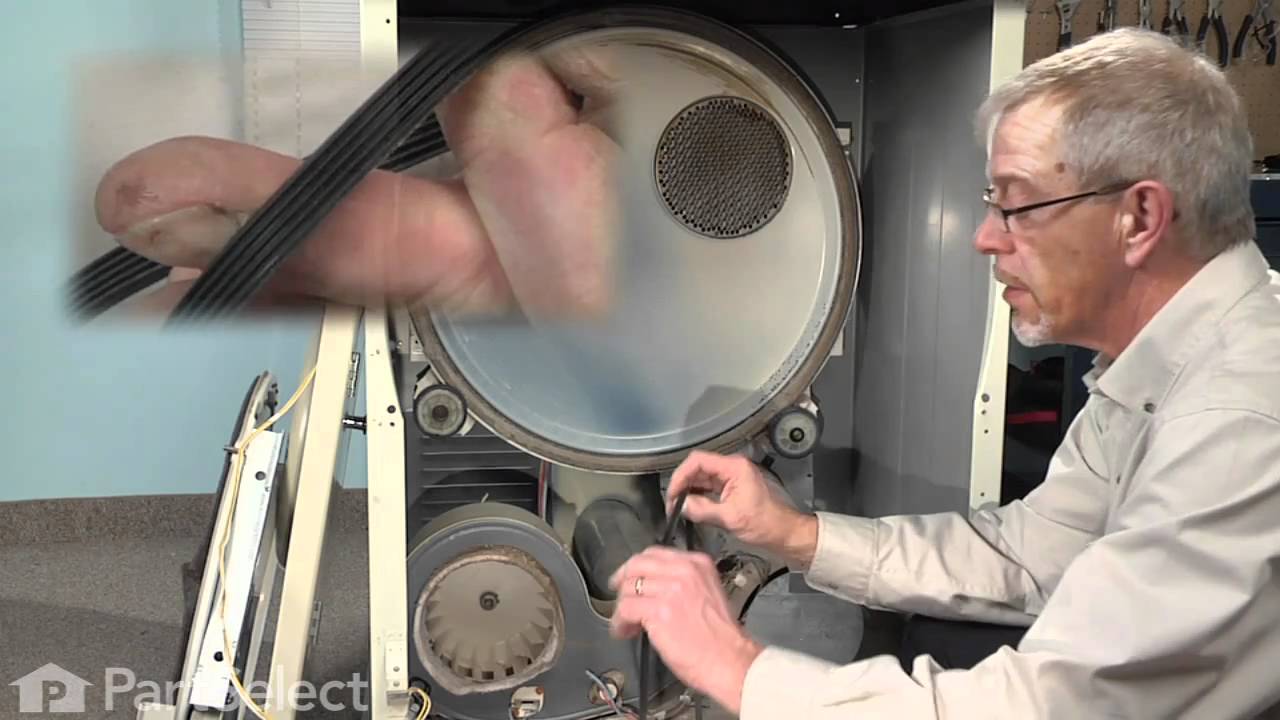
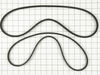
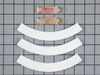
The tumbler and motor belt in your dryer allows the drum to spin during the drying cycle. At 100 inches in length, this dryer drum belt is 3/8 of an inch wide and has five ridges. The belt is black in...
The front glide is located at the front of the dryer, the drum rides along it. If you hear a metal-on-metal noise when your dryer is running, your front glide may be worn out and require replacing. Th...
This roller shaft is also known as a support roller shaft or a drum roller axle, and is a part for your dryer. The function of this piece is to act as the axle for the drum roller; it provides a place...
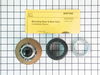
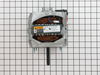
This comes with a metallic hub clamp to hold it firmly in place. The blower wheel with clamp is part of your dryer assembly. You will find this part attached to the drive motor shaft, which disperses ...
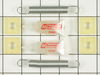
This kit includes both the drive belt and the pump belt which are both V-shaped. If your washer does not toss, spin, or drain water properly, this might be because one of these belts has worn or stret...
This lint filter is a genuine OEM replacement filter for your dryer. Replacing it is easy as it just slides in like your normal filter. Make sure to check the filter slot for excess buildup of lint, a...
This part is a retaining ring, sometimes called a retaining clip, that holds the drum support roller onto the shaft of a dryer. It is made entirely of metal and measures less than an inch in diameter....
If you notice that your dryer is noisy or will not tumble, then you may need to replace the drum roller shaft washer. This drum roller shaft washer is just under an inch in diameter and is sold indivi...
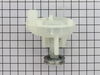
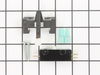
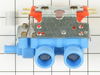
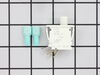
This is a water inlet valve which is used in washing machines. The valve controls and monitors the flow of water into the washer. It has a multi-mount bracket and outlet adaptor. The tools needed for ...
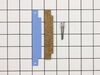
This part is commonly known to cause a leak at the top left corner of the outer tub. It fits over the injector nozzle. It is black in color and measures approximately 2 inches in length. To access thi...
$19.91
In Stock
Questions And Answers for LSE7800ACW
Ask our experts a question about this model and we'll get back to you as soon as possible!
2 questions answered by our experts.
Sort by:
< Prev
1
Next >
Search filter:
Clear Filter
Your search term must have 3 or more characters.
Keep searches simple. Use keywords, e.g. "leaking", "pump", "broken" or "fit".
Sorry, we couldn't find any existing answers that matched.Try using some different or simpler keywords, or submit your new question by using the "Ask a Question" button above!
Gary
July 5, 2021
How do I remove the front for a stackable Maytag dryer
For model number LSE7800ACW
Hello Gary, Thank you for the question. We have attached a link to a How to Video that may help. Good luck with the repair!
2 people found this helpful.
Was this helpful?
Thank you for voting!
John
June 15, 2024
I can’t find the outlet for the dryer.
For model number LSE7800ACW
Hi John, thank you for reaching out. The most common location for a dryer outlet is directly behind the appliance. Carefully move the dryer away from the wall and look for the outlet. Sometimes, the outlet may be placed on the wall adjacent to the dryer or at a higher level. Inspect the walls surrounding the dryer. Dryer outlets are sometimes installed lower on the wall, close to the floor. If you still can not find the outlet, check your home's electrical panel for a dedicated circuit breaker for the dryer. This can give you a clue about the outlet's location by tracing the circuit path. If you are looking for the exhaust vent outlet, it will be located on the backside of the dryer. We hope that helps!
1 person found this helpful.
Was this helpful?
Thank you for voting!
< Prev
1
Next >
✖
Ask a Question
Ask our experts a question on this model and we'll respond as soon as we can.
first, I unplug the power supply of the dryer then I removed the two screws at the bottom of the dryer then pulled out the front part of the dryer,unplugged the blue & yellow wire for the on/off switch for the door,at the back of the dryer I unscrew the pannel for the belt,disconect the belt,and I unscrew the four screws on both side of t
... Read morehe front pannel to remove the front cover of the drum. Once I removed the front cover of the drum I can now remove the drum itself to access the drum support roller. I unscrew the rollers then replace it with the new once. It was an easy job. Thank you.
I started by unplugging the appliance and then shut off the hot and cold water faucets then I disconnected and drained the hoses. Next, I removed the two screws that held the valve assembly in place. I then pulled the assembly out about 3 inches and disconnected the two wire plugs. The last step was to loosen the hose clamp on the outl
... Read moreet hose and pull off the outlet hose. I reversed the steps to install the new assembly and the total repair took about 10 minutes.
Removed the front cover (screws on bottom 0f face)...removed blower cover....spring pliers to remove and install blower fan. the rest of the time was spent cleaning the inside of the shell as well as the vent. Reassembled and dryer runs better than it has for many years.


 Diagram and Parts List for Maytag Washer Dryer Combo")
 Diagram and Parts List for Maytag Washer Dryer Combo")

 Diagram and Parts List for Maytag Washer Dryer Combo")
 Diagram and Parts List for Maytag Washer Dryer Combo")
 Diagram and Parts List for Maytag Washer Dryer Combo")
 Diagram and Parts List for Maytag Washer Dryer Combo")

 Diagram and Parts List for Maytag Washer Dryer Combo")
 Diagram and Parts List for Maytag Washer Dryer Combo")
 Diagram and Parts List for Maytag Washer Dryer Combo")
 Diagram and Parts List for Maytag Washer Dryer Combo")
 Diagram and Parts List for Maytag Washer Dryer Combo")
 Diagram and Parts List for Maytag Washer Dryer Combo")
 Diagram and Parts List for Maytag Washer Dryer Combo")
 Diagram and Parts List for Maytag Washer Dryer Combo")
 Diagram and Parts List for Maytag Washer Dryer Combo")