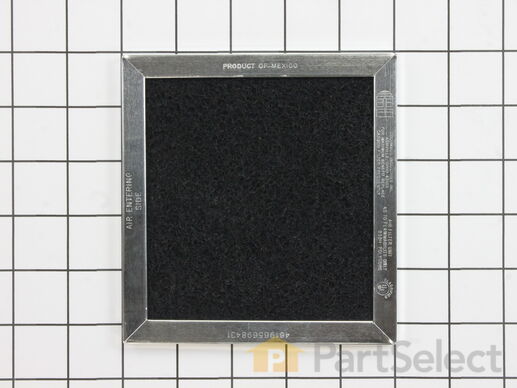
Parts That Fix Whirlpool Microwave Oven Combo WMH76719CZ2 Exhaust fan not working
This Charcoal Filter traps grease from your oven's exhaust to help prevent it from entering the vent, which could cause damage over time. If the exhaust fan on your microwave is not working, you may need to replace your charcoal filter. This charcoal filter is located within the intake grille of your microwave, which will need to be unscrewed and opened to gain access to the filter. The manufacturer recommends that you change your charcoal filter every six months. This filter measures 5 inches by 5.375 inches by 0.375 inches. Be sure to measure your current filter to assure correct replacement. This product is sold individually. We recommend the use of gloves during installation to protect your hands from messy grease during your repair. You should also unplug your appliance at the electrical outlet or switch it off at the breaker. Using a Phillips screwdriver, unthread the screws securing the grill. Open the door and slide the grill to the left and lift it up to remove it. This will allow access to the filter so it can be either replaced or cleaned. Remember to insert the tabs of the grill into the frame and slide it to the right when you are done. To finish, shut the oven door and secure the grill with the screws.
This damper is an authentic OEM replacement assembly used in microwave/range hood combos. It includes the damper door and frame. It is designed to direct the flow of air through the vent duct, and the release of steam and heat from the appliance during cooking. Over time, the damper door and frame can wear down or become obstructed by food particles and debris. A faulty damper assembly will result in poor ventilation, uneven cooking, and excessive moisture buildup which can damage internal components in the appliance. Disconnect any wires or connectors attached to the faulty damper assembly and remove it from the appliance. Position the new damper assembly and reconnect the wires/connectors before securing it with the appropriate fasteners.


