


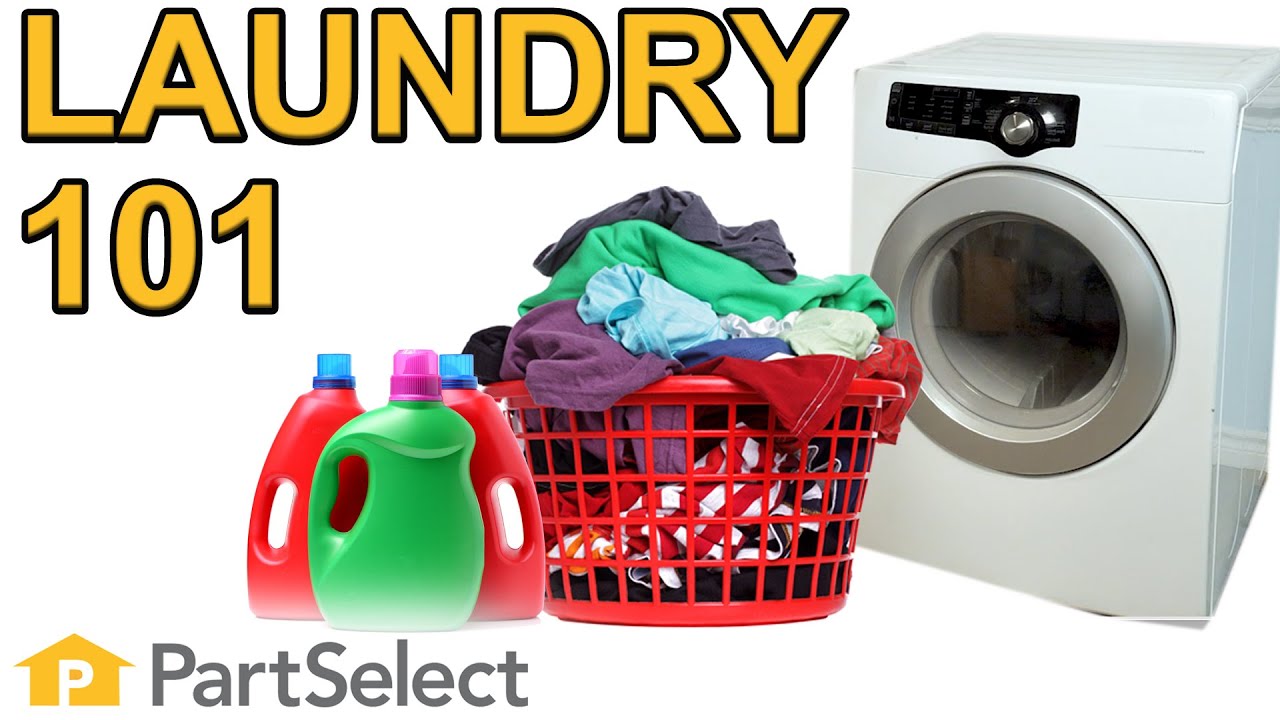
Laundry 101: The Ultimate Laundry Guide
Have you ever opened your washer and found all your whites came out pink? Or opened your dryer and found your go-to jeans were covered in lint or tangled up so badly that you needed to iron them? These are very common problems, but luckily, they are avoidable! We’ll share some basic tips and tricks, so you don’t end up with a laundry room disaster!
How to Sort Your Laundry
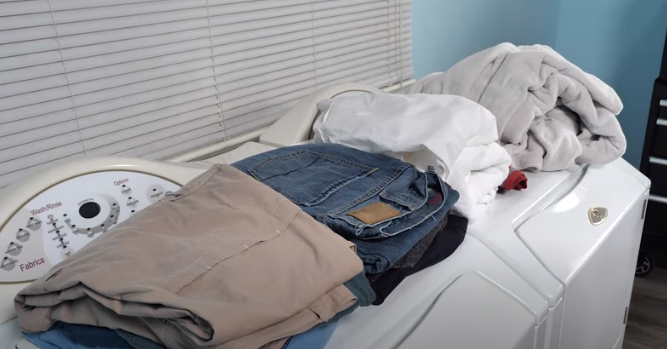
The first step is to sort the laundry. You’ll want to sort them into piles based on color. One pile for dark items (blacks, navy blues, grays), one pile for colored items, and one pile for white items. Mixing darks with whites will run you the risk of color transfer, which of course we do not want. Colored items that are new should be washed separately for at least the first few washes (especially red items), this will lessen the likelihood of die transfer and will give the die a chance to become stable. Larger items, such as blankets, should also be separated and put into their own pile.
Prepare Your Clothes for the Washer
Now that your clothes are separated by color and size, you will want to check out the garment labels on the individual items to verify that the fabrics are compatible with each other. The garment labels may indicate the need to turn certain clothes inside out, or wash in a specific temperature, for example. If the labels do not have instructions written out, there will typically be symbols indicating washing instructions. These symbols are universal in nature and easily available online for interpretation.

Before you load the washer, you will want to verify that the pockets have been emptied. Items such as keys, screws, nails, and coins can cause some damage to your washer. Even something as simple as tissue can create a lot of lint, which makes it difficult to clean.

How to Load a Front-Load Washer
When loading your front-load washer, take your items, and loosely clump them in a ball and toss them in the machine. The tubs of front-load washers are usually larger than a top-load washer, so they are more difficult to overload. Be sure to leave a little bit of room at the top, to allow for some expansion and tumbling action.

Add Detergent
When selecting the appropriate detergent for the wash, you will want to consider the garment instructions printed on the label of the clothes. If you have determined that the cold setting will be selected, you may want to choose a detergent that works well for cold-water. Other detergent options may include more gentle ingredients, or harsher ingredients for tough stains. Insert the detergent into the appropriately labelled dispenser. If you do not have a designated dispenser, just simply add it directly into the drum. Using the correct amount of detergent is crucial, and is a common mistake made by many. Most people tend to use far too much detergent in their front load washer, which creates a lot of suds. You may think more suds means a better wash, but that is not the case. Particularly in a front-load washer, excess suds provide a cushion for clothes to drop on and they don’t become as clean.

How to Select a Cycle for a Front-Load Washer
You will want to pick a cycle that best suits the load that you have in the washer. For the demonstration that we share in our video, we have mostly cotton items, so we selected a normal or cotton cycle. You will then want to select the temperature, and in this case, we selected cold based on the instructions on some of our clothes. Our load is only lightly soiled, so we stuck with a standard cycle. If it was heavily soiled, you would want to add some extra time, or you may wish to add a pre-soak cycle on. Now you can start the cycle.

How to Load a Top-Load Washer
The loading procedure for a top-load washer is slightly different because you will need to take into consideration the agitator in the center of the tub. Refrain from wrapping things around the agitator. If you do that, they tend to become tangled and this often creates excess abrasion on the fabric, which will cause damage to it. Just like the front-load washer, you will need to select the water temperature based on the fabric labels of the load. We picked a cold cycle and a standard single rinse in our video example. Next, you will need to select the water level. Unlike most front-load washers that do that automatically, top-load washers require you to select an option. We suggest picking the water level that most closely matches the load size that you have in the washer or the next largest. The more water you have in a top load washer, the more easily clothes can circulate inside the tub, and the cleaner they will become.
How to Select a Cycle for a Top-Load Washer
Next, you will need to choose the cycle that best suits the fabric. In our video example, we chose a regular cycle. Once that is selected, you just need to press the start button and your wash will begin.

How to Determine the Dryer Load Size
Once the clothes are done in the washer, you will need to get your dryer ready. The first thing you will want to check is that the items coming from the washer into the dryer are okay to go in the dryer. You will need to check the laundry labels and verify that they are safe to use in the dryer. Secondly, you will want to make sure that you have the proper size load for your dryer. To ensure clothes dry properly they need to be able to tumble freely inside the dryer drum. If you overload the dryer, what typically happens is some items will get caught up in a bundle and won’t dry completely. In some cases, you may need to split the load up to get the best drying results.
Clean the Lint Filter
The next step is making sure the lint filter is clean. A good practice is to check the lint filter before you start each load and clean it at the end of each cycle. Leaving lint in the filter will lessen the efficiency of the dryer and create a major safety hazard if left too long.

Adding Fabric Sheets and Dryer Balls
Before closing the dryer, you will need to decide whether you want to use a fabric sheet, or you may also wish to add some dryer balls. Dryer balls are typically a felt or wool material. They open up the clothing as its tumbling in the dryer. They can be a bit noisy, but they allow for better airflow and therefore a more efficient dry.

How to Select a Dryer Cycle
When selecting a dryer cycle, we recommend using an automatic cycle if your machine has one. A sensor dryer or automatic dry cycle is more tailored to the load that is in your dryer and tends to not over-dry your items. When selecting the temperature, you will want to consider the items in the dryer and whether the garment labels specified a high or low dryer setting. The timing of a sensor dry will vary because it will dry according to the load size. You may also have the option to select a permanent press or wrinkle prevention option, which you can select if you so choose. Now you are ready to start the cycle

Removing Items from the Dryer
Once the cycle is complete, we suggest removing all those items as soon as possible. The longer you leave the clothes in the dryer, the more chance you have of wrinkles setting into those items.
We hope our laundry room tips and tricks helped you out on laundry day, and you avoided a laundry room disaster! For more appliance-related tips, subscribe to our YouTube channel.


Your dryer vents need to be cleaned at least once a year. Use this step-by-...
Spring is here, and we are cleaning up all our appliances! A washer is supp...
A few minutes of maintenance could save you hours of repair work in the fut...