Enter the code USA15 at checkout to apply your discount. Discount will be applied at checkout when the code is entered & applies to all parts. Cannot be combined with any other coupon or special offer & cannot be applied to a previously placed order. Not valid toward tax or shipping & handling. Discount has no cash value. Discount expires on July 1 at 11:59pm EST.

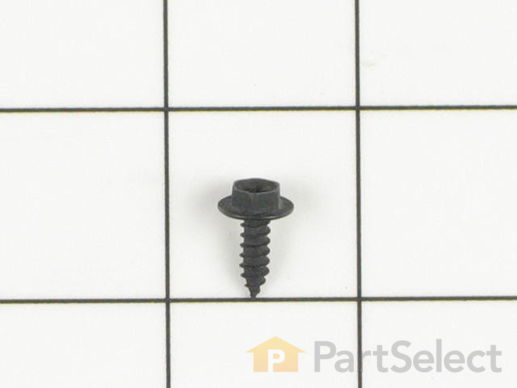
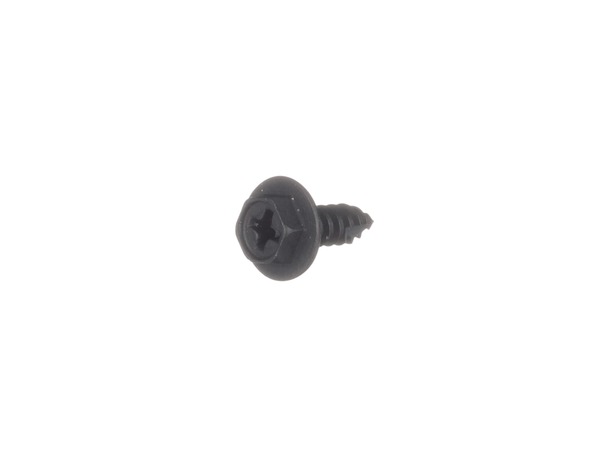
Screw - 8-18 x 1/2 WP302868
Rated by 5 customers
Easy
30 - 60 mins
Ratings submitted by customers like you who bought this part.
Get this part fast! Average delivery time for in-stock parts via standard shipping: 1.8 days.
Does this part fit my model?
Need help finding your model number?Screw - 8-18 x 1/2 Specifications

How Buying OEM Parts Can Save You Time and Money
- < Prev
- 1
- Next >
On ... Read more day 1 I followed the instructions for removing the door panel to gain access, but, after many failed attempts to get the nut driver properly seated on the screw heads holding the air inlet to the door, I replaced the panel so the dishwasher could be used until I found a solution to the problem.
After doing online research, I discovered a nut driver with a flexible shaft; it looked like it would allow me to properly seat the nut driver on the screw heads. Next day, I was able to replace the air inlet with no problem. It took me a little over an hour from start to finish. Aligning the holes of the new air inlet with the holes on the door so it could be screwed in place was awkward and time consuming but persistence worked.
-
Peter Del from BRISTOL, CT
-
Difficulty Level:A Bit Difficult
-
Total Repair Time:1- 2 hours
-
Tools:Nutdriver
-
Barbara from NEWPORT NEWS, VA
-
Difficulty Level:A Bit Difficult
-
Total Repair Time:1- 2 hours
-
Tools:Screw drivers
A licensed electrician had also moved the power line over to the new location and left a wire sticking out of the bottom of the wall to hardwire the dishwasher in again. We decided to convert the dishwasher to be able to be plugged into a standard 20amp wall outlet instead. We had already purchased a kit with a nice long cord and strain-relief snap on plastic fitting that snapped onto the metal incoming power box on the bottom front of the dishwasher. Using the supplied wire nuts, etc., we connected the wires and ground wire to the proper wires from the dishwasher and ground lug. We put the dishwasher aside and then went to work on converting the power wire coming out of the bottom of the wall, to a conventional outlet. I am mentioning all this because in our first attempt we unfortunately put the receptacle a bit high off the floor and the new power cord plug end, stuck out and hit the back of the dishwasher so it would not go all the way in and was sticking out from under the counter top. I tried using one of those flat adapter cables, but even that still stuck out to far. So we ended up relocating the outlet box as low as we could on the wall and this allowed the plug to stick out into the opening area at the bottom rear area of the dishwasher so it could now be slid all the way in under the kitchen counter properly. I hope that bit of trial and error will save you some time if you ever decide to go the pluggable route too.
The new installation required the use of the dishwasher side mount brackets, so we had to purchase a replacement set of those, complete with the hardware to screw them down.
This project took a bit longer than planned due to the power plug problem, one which we will remember for any other similar appliance relocation projects, as well as the time to get our new parts in that we had to order, but other than that the rest went smoothly and the dishwasher was relocated successfully.
-
Curtis from PALM BAY, FL
-
Difficulty Level:Easy
-
Total Repair Time:1- 2 hours
-
Tools:Pliers, Screw drivers, Socket set
-
Johnny from LEVITTOWN, PA
-
Difficulty Level:Very Easy
-
Total Repair Time:Less than 15 mins
-
Tools:Nutdriver
I had to unplug an electronic tape from the inside of the beige control panel and plug the same tape back into the black control panel. I also had to remove the beige handle that was on the inside of the control panel, attached to the door, and replace it with the new black one I'd received. I then installed the black control panel and reattached it with screws and finished replacing the rest of the screws I had removed from the inside of the door.
I tested the handle to make sure it opened the door and locked it like it should and then went outside and turned the breaker back on. Came in and turned on the dishwasher and did a load of dishes. It looks awesome, matches the rest of my black appliances and I am very proud to have done it myself. I also wanted to thank the customer service lady who was so great to work with on the phone. I would shop with you again.
-
Margaret from San Diego, CA
-
Difficulty Level:Easy
-
Total Repair Time:15 - 30 mins
-
Tools:Screw drivers
- < Prev
- 1
- Next >
Ask our experts a question about this part and we'll get back to you as soon as possible!
- < Prev
- 1
- Next >


- < Prev
- 1
- Next >


Manufacturer Part Number: WP302868

Item is in stock and will ship today if your order is placed before 4:00 PM Eastern Standard Time.
If your order is placed after 4:00 PM EST, the in stock items will ship on the next business day.
Item is not in stock and usually ships 3-5 business days from the time you place your order.
Item is not in stock and usually ships 10-15 business days from the time you place your order.
This item is no longer being made by the manufacturer, and cannot be added to your shopping cart.


